
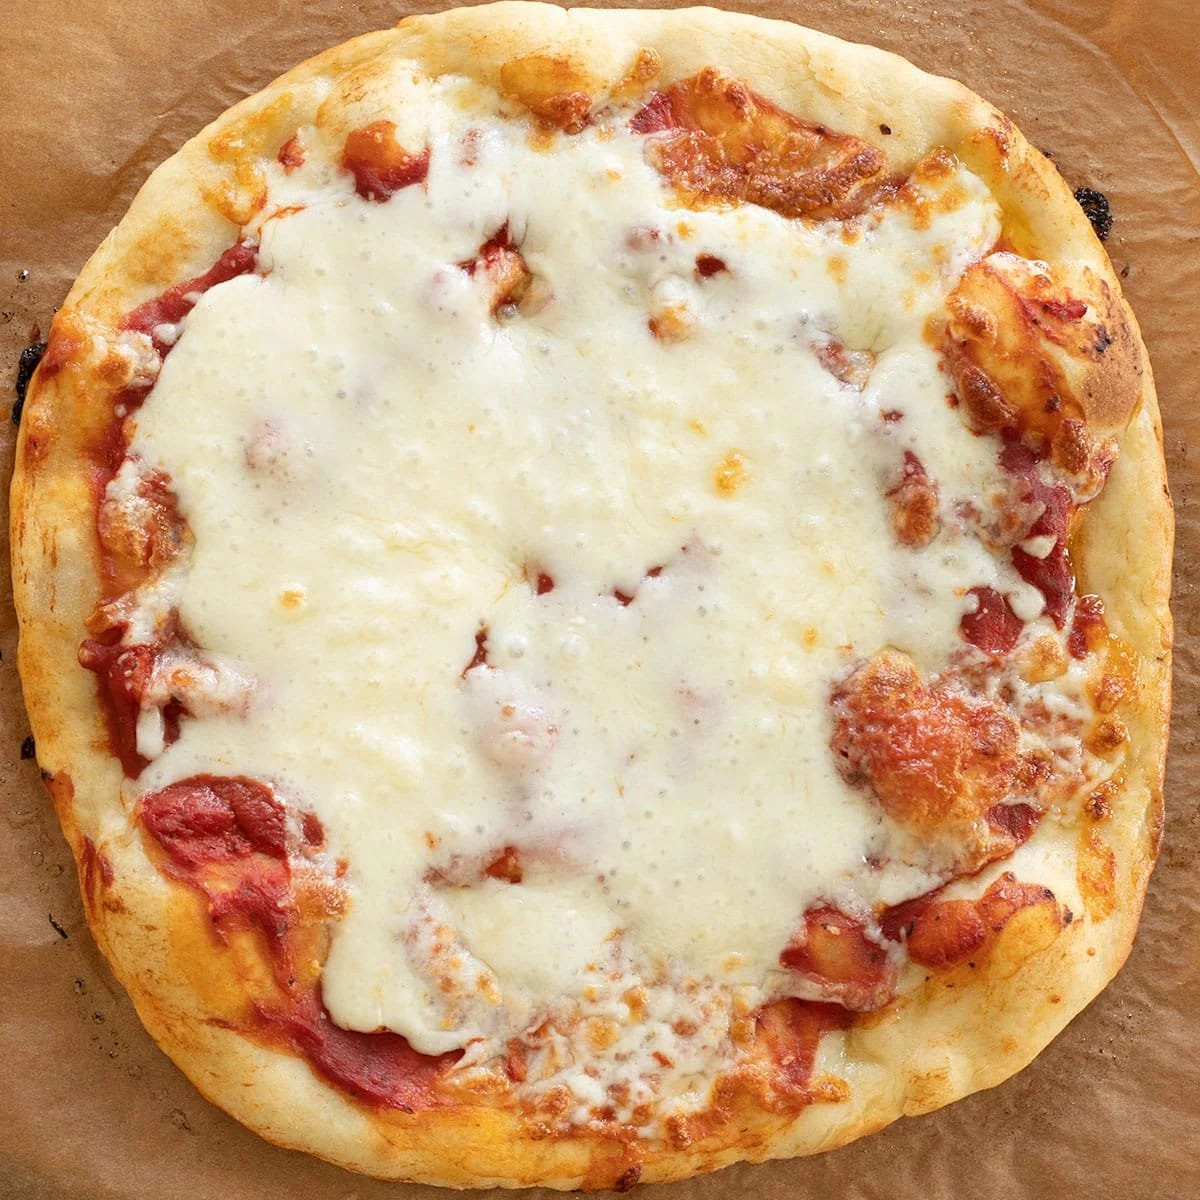
Easy Gluten Free Pizza Recipe is a dish that embodies comfort and togetherness. With its soft yet crispy crust and the ability to customize toppings, it provides a wonderful way for families to bond over a meal. This recipe is not only straightforward but also ensures that everyone can enjoy pizza night, regardless of dietary restrictions. With the perfect blend of gluten-free ingredients, this step-by-step guide will have you whipping up a delectable pizza in no time.
Ingredients
- 3 cups all-purpose gluten-free flour blend (see recipe notes) plus more for sprinkling
- 3 teaspoons xanthan gum (omit if your blend already contains it)
- 1 tablespoon instant yeast
- 1 1/2 teaspoons granulated sugar
- 1 1/2 teaspoons kosher salt
- 1 1/8 cups warm water (about 95°F) (see recipe notes about chewier crust)
- 4.5 tablespoons extra-virgin olive oil (plus more for brushing)
- Your favorite pizza toppings – whether creamy cheeses, juicy tomatoes, vibrant veggies, or aromatic herbs, the toppings are what truly make this pizza your own.
Step-by-Step Directions
In the bowl of your stand mixer fitted with the paddle attachment, or your food processor fitted with the plastic blade, combine the flour, xanthan gum (if using), yeast, and sugar. Whisk these dry ingredients together with a separate handheld whisk until well incorporated.
Next, add the salt and whisk again to ensure everything is evenly mixed. Pour in the warm water along with 4.5 tablespoons of olive oil. Mix this dough on medium speed in your stand mixer or pulse it in your food processor until it starts to come together.
Increase the mixer’s speed to high or continue pulsing the food processor until the dough appears whipped rather than ball-shaped, approximately 3 minutes. This step adds air to the dough, making it more manageable after chilling and allowing it to rise beautifully in the oven.
Transfer the dough into an oiled container with a tight-fitting lid or a greased bowl. Lightly spray the top with cooking oil and cover tightly. Place it in a warm, draft-free area and let it rise until it grows to about 150% of its original size, roughly an hour. Alternatively, you can refrigerate the dough for up to 3 days for a deeper flavor.
When you’re ready to make your pizza, preheat your oven to 400°F with a pizza stone or an overturned rimmed baking sheet inside. If the dough has been refrigerated, you can work with it straight from the fridge. If not, let it chill in the refrigerator for about 15 minutes to make it easier to handle.
On a lightly floured surface, place the dough and sprinkle a bit more flour on top. Gently knead the dough until it’s smooth and not sticky, then divide it into two equal portions, covering the unused portion to prevent it from drying out.
With floured fingers, shape the first piece of dough into a ball and then press it into a disk. Starting from the center, use your floured fingers to stretch the dough, creating a disk with raised edges. Continue working it into about a 10-inch round while sprinkling with more flour to avoid sticking.
Prepare a large piece of unbleached parchment paper on your pizza peel or cutting board. Lift the shaped dough onto the parchment paper. Using a rolling pin or pizza roller, smooth out any uneven parts, aiming for a diameter of about 11 to 12 inches.
Brush the top of the dough with olive oil, generously coating the edges. Transfer the dough to the preheated oven by sliding it onto the pizza stone or baking sheet. Bake the plain crust for 5 to 7 minutes, or until the underside starts to crisp up.
Next, remove the crust from the oven using a pizza peel or large spatula. At this point, the parbaked crust can be cooled, wrapped tightly, and frozen for later use—simply thaw it at room temperature before continuing with the recipe.
To finish your pizza, add your favorite toppings to the parbaked crust and return it to the hot oven until cheese melts and the edges are beautifully browned and puffed—another 5 to 7 minutes. Once done, allow the pizza to set for 5 minutes before slicing and serving, transforming your kitchen into a pizzeria.
Tips & Tricks
To enhance your gluten-free pizza, consider adding herbs to the dough for extra flavor. Fresh basil or dried oregano blended into the flour will provide a lovely aroma. If you prefer a crispier crust, bake it a little longer, but keep an eye on it to avoid burning.
For a delightful twist, try adding different cheeses or sauces like pesto in place of traditional tomato sauce. You can even sprinkle some red pepper flakes on top for an extra kick.
Serving Suggestions & Pairings
This Easy Gluten Free Pizza pairs beautifully with a simple arugula salad tossed in lemon vinaigrette. For special occasions, serve alongside your favorite appetizers like bruschetta or stuffed mushrooms. Pair the meal with sparkling water flavored with lemon or your choice of refreshment to complement the savory flavors of the pizza.
Nutritional Information
One slice (1/8 of the pizza) contains approximately 180 calories, featuring up to 6 grams of protein, 8 grams of fat, and 22 grams of carbohydrates. It’s a balanced meal, especially when loaded with nutritious toppings like spinach or grilled vegetables. Remember, moderation is key, and pairing with the right sides can add nutritional value.
Storing Tips & Variations
Store any leftover pizza in an airtight container in the refrigerator for up to three days. For extended storage, freeze the baked pizza slices with parchment paper between them to prevent sticking. Simply reheat in the oven or air fryer for the best results.
Variations of this recipe include using different gluten-free flour blends or incorporating additional herbs, seeds, or spices in the dough to customize the flavor profile to your liking.
Conclusion
Don’t miss out on this Easy Gluten Free Pizza Recipe that can bring joy and flavor to your pizza nights. With its simple preparation and room for creativity, it’s a delightful way to enjoy a gluten-free lifestyle without sacrificing taste. Try it out and share your pizza creations!
FAQs
-
Can I use a different gluten-free flour blend?
Absolutely! Just make sure your chosen blend has a good balance of starches and proteins for the best results. -
Can I make the dough ahead of time?
Yes! The dough can be refrigerated for up to three days or frozen for longer storage. -
What toppings can I use?
The options are endless! Go for classic cheese and pepperoni or load it with fresh vegetables, pesto, or even grilled chicken. -
How do I know when my crust is done?
Look for a golden-brown color and a crispy texture on the underside. You can check it by gently lifting with a spatula. -
Can I use a pizza stone?
A pizza stone works wonderfully for achieving a crispy crust, but a baking sheet turned upside down can also do the trick!
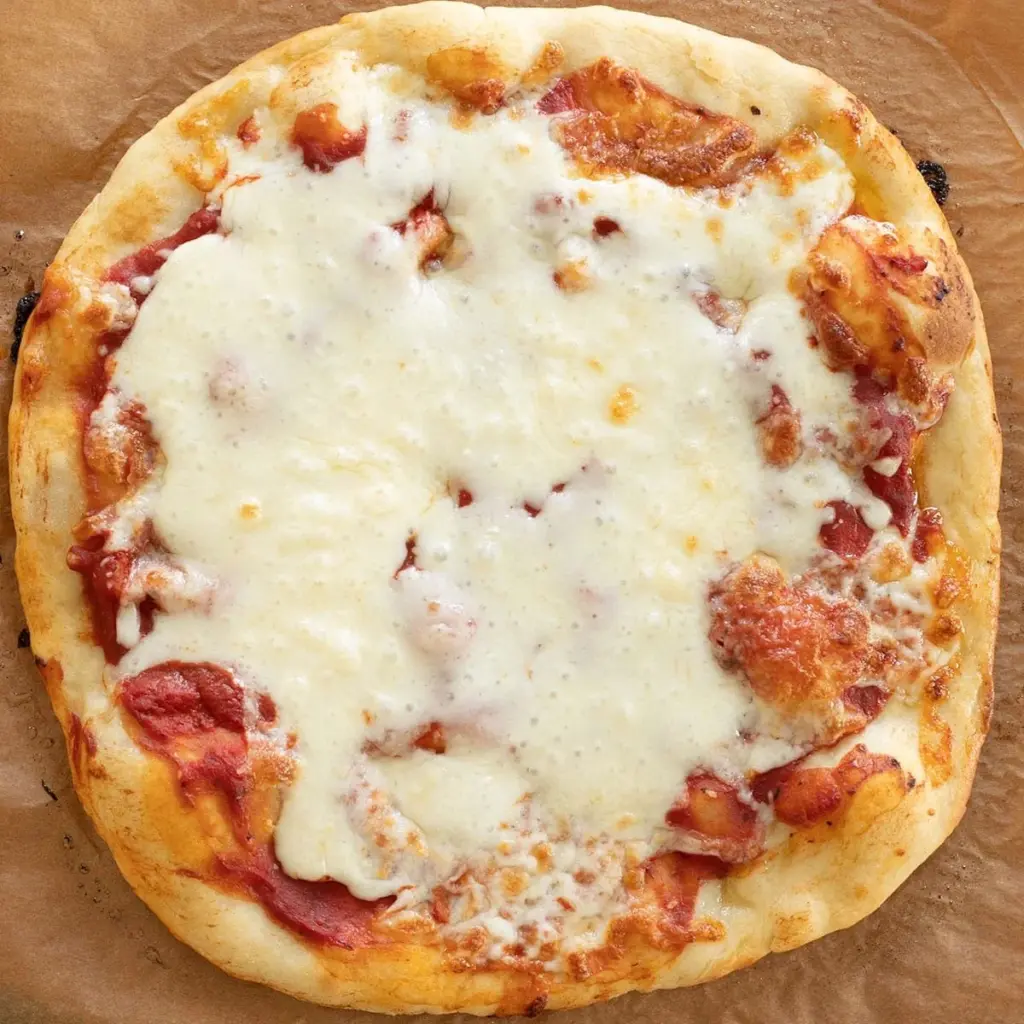
Easy Gluten Free Pizza
Ingredients
Method
- In the bowl of your stand mixer fitted with the paddle attachment, or your food processor, combine the flour, xanthan gum (if using), yeast, and sugar. Whisk until well incorporated.
- Add the salt and whisk again to ensure everything is evenly mixed. Pour in the warm water and 4.5 tablespoons of olive oil. Mix on medium speed or pulse until the dough starts to come together.
- Increase the mixer’s speed to high or continue pulsing until the dough appears whipped, approximately 3 minutes.
- Transfer the dough into an oiled container with a tight-fitting lid or a greased bowl. Lightly spray the top with cooking oil, cover tightly, and let it rise in a warm area until it grows to about 150% of its original size, roughly 1 hour, or refrigerate for up to 3 days.
- Preheat your oven to 400°F with a pizza stone or overturned baking sheet inside.
- On a lightly floured surface, knead the dough until smooth and not sticky, then divide into two equal portions.
- Shape each portion into a ball and then press into a disk. Stretch the dough into a 10-inch round while sprinkling with more flour to avoid sticking.
- Place the dough on a piece of parchment paper and use a rolling pin to smooth out any uneven parts, aiming for a diameter of about 11 to 12 inches.
- Brush the top of the dough with olive oil and transfer it to the preheated oven. Bake for 5 to 7 minutes until the underside starts to crisp.
- Remove the crust, add your favorite toppings, and return to the oven until cheese melts and edges are browned, an additional 5 to 7 minutes.
- Allow the pizza to set for 5 minutes before slicing and serving.


Leave a Reply