
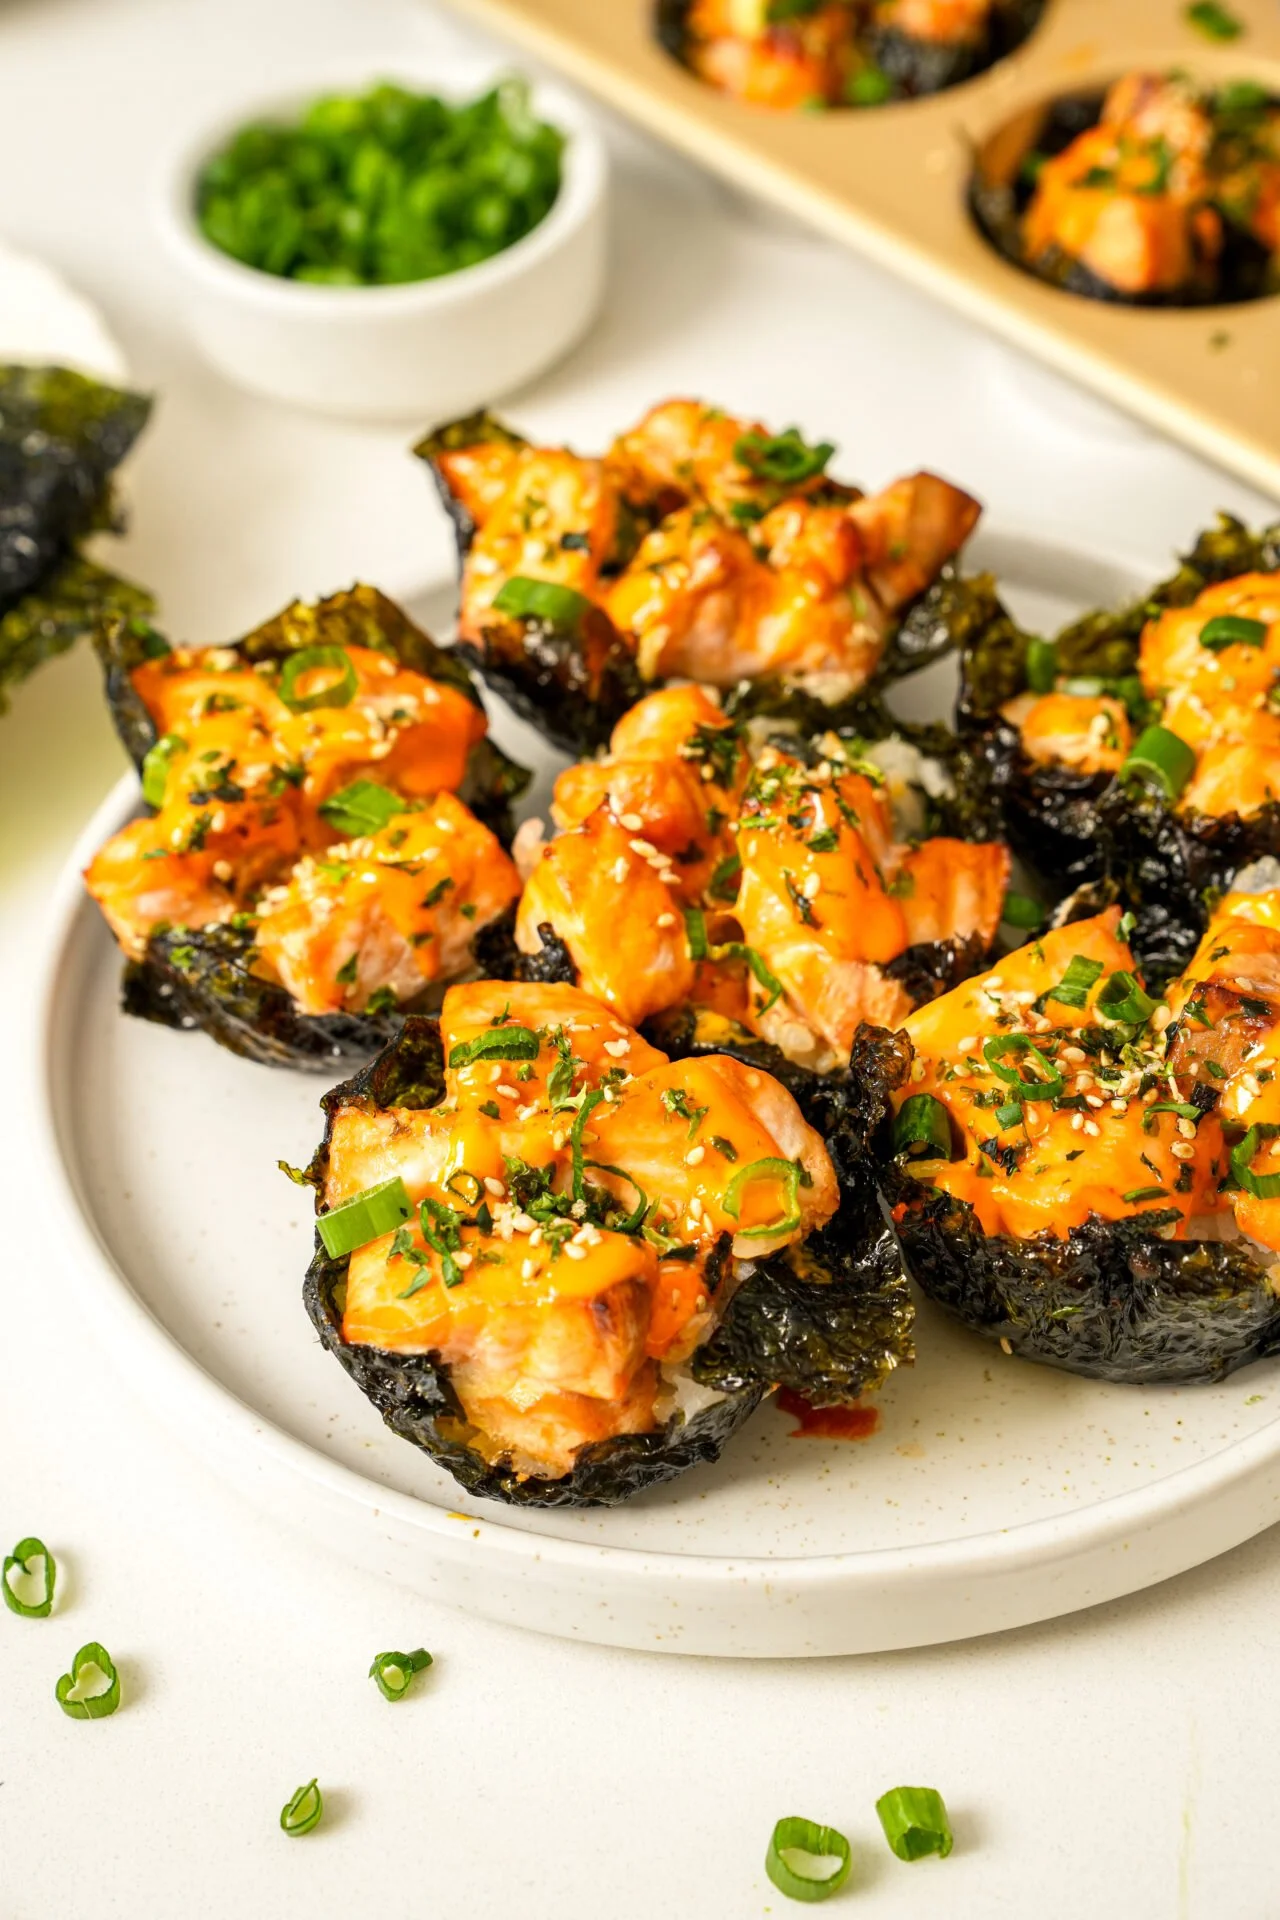
Easy Baked Salmon Sushi Cups provide a delightful fusion of flavors and textures that will quickly become a household favorite. Imagine creamy, juicy salmon nestled atop a warm bed of seasoned sushi rice, all encased in crispy nori. This recipe is not just easy to make but also comforting, making it a great option for family gatherings or a cozy night in. With its step-by-step directions, even novice cooks will find success with this vibrant and wholesome dish.
Ingredients
To prepare these irresistible Sushi Cups, you’ll need the following ingredients:
- 1 lb salmon, cubed: Fresh, tender salmon adds a rich flavor that’s both satisfying and nutritious.
- 1 tbsp light soy sauce: This ingredient infuses a salty, umami punch that enhances the overall taste.
- 1 tbsp Kewpie Mayo: Creamy and slightly sweet, Kewpie mayo elevates the flavor profile, making it decadently delicious.
- 1 tbsp Sriracha: A hint of heat from Sriracha balances the richness of the salmon and mayo.
- 1 tsp sesame oil: Aromatic sesame oil gives depth with its nutty flavor, enhancing the dish’s complexity.
- 1 ½ cup uncooked sushi rice: Sticky and plump, sushi rice serves as the perfect base for these sushi-inspired cups.
- 1 tbsp rice vinegar: This adds a tangy zest that brightens the flavors.
- 2 tsp white sugar: A touch of sweetness to balance the acidity of the vinegar.
- 3 large nori sheets: Crispy sheets of nori provide an essential crunch and authentic sushi experience.
- Furikake, for garnish: This Japanese seasoning adds texture and a burst of flavor.
- 1 green onion, for garnish: Freshness and color enhance the presentation.
- Cooking spray: To prevent sticking and facilitate easy removal from the muffin tin.
Step-by-Step Directions
Preparing Easy Baked Salmon Sushi Cups is a simple, enjoyable process that will leave your kitchen smelling heavenly.
-
Cook the sushi rice: Begin by cooking the sushi rice according to package instructions. Once it’s done, set it aside to cool slightly. The fluffy texture is essential for holding the cups together.
-
Prepare the vinegar mixture: In a microwave-safe bowl, combine the rice vinegar and sugar. Microwave this mixture for about 30 seconds or until the sugar has dissolved. Pour this tangy concoction over the cooked rice and mix gently until well combined. Allow the rice to cool.
-
Preheat the oven: Set your oven to 400℉ (200℃) to ensure it’s hot when you bake.
-
Mix the salmon: In a separate bowl, combine the diced or cubed salmon, light soy sauce, Kewpie mayo, Sriracha, and sesame oil. Mix until everything is evenly coated and well-combined. The fusion of flavors will be irresistible.
-
Prepare the nori: Cut the nori sheets into four rectangles or squares that are large enough to fit into each muffin tin insert. This will create the perfect cups for your sushi filling.
-
Assemble the sushi cups: Lightly grease the muffin tin with cooking spray. Take a spoonful of sushi rice and place it in the center of each nori square, pressing it down gently. Repeat this process until the muffin tin is filled. Top each rice base with a generous layer of the salmon mixture.
-
Bake: Place the muffin tin in the oven and bake for about 15 minutes, or until the salmon is cooked through and the top of the sushi cups is slightly golden brown.
-
Cool and garnish: Once done, remove the sushi cups from the oven and let them cool for a few minutes. For an extra kick, drizzle some more Sriracha or spicy mayo on top. Finally, garnish with furikake and finely chopped green onions before serving.
Tips & Tricks
- Freshness matters: Always use the freshest salmon you can find to enhance the dish’s quality.
- Customize: Feel free to add avocado or cucumber to the salmon mixture for an even more delightful burst of flavor and texture.
- Perfect nori: Soften the nori sheets by toasting them lightly over an open flame; this will intensify their flavor and make them more pliable.
- Don’t skip resting: Allowing the sushi rice to rest after mixing with the vinegar is crucial for flavor absorption.
Serving Suggestions & Pairings
These Easy Baked Salmon Sushi Cups are perfect as a starter or a main dish. Serve them with a side of pickled ginger, wasabi, and soy sauce for dipping. Pair with a fresh cucumber salad or steamed edamame for a light and refreshing meal. They are also excellent for lunchboxes or as party appetizers.
Nutritional Information
Each serving of these sushi cups is approximately 150 calories, depending on your portion size. They provide a good source of protein from the salmon, healthy fats from the sesame oil, and carbohydrates from the sushi rice. Remember to enjoy these in moderation, balancing them with plenty of vegetables and fruits in your diet.
Storing Tips & Variations
For storage, place any leftovers in an airtight container in the refrigerator. They will keep well for 1-2 days but are best enjoyed fresh. If you wish to prepare them in advance, you can assemble the cups and store them uncooked, baking them just before serving.
Other variations include using cooked shrimp or tofu for a different protein option. You can also experiment with other toppings like sesame seeds or avocado to mix up the flavors.
Conclusion
Easy Baked Salmon Sushi Cups are a delicious and fun way to enjoy sushi at home. They offer a delightful blend of flavors, textures, and that satisfying comfort that everyone loves. Whether you’re hosting friends or enjoying a cozy night in, these sushi cups are an excellent choice. Don’t hesitate to try this recipe and share your experience with friends and family—you might just start a new culinary trend!
FAQs
-
Can I use cooked salmon instead of raw?
Yes, absolutely! Cooked salmon will work great in this recipe. Adjust the baking time as needed. -
Is Kewpie mayo necessary?
While Kewpie mayo adds a unique flavor, you can substitute it with regular mayonnaise if you prefer. -
Can I freeze the sushi cups?
Yes, you can freeze the assembled sushi cups unbaked. Just bake them directly from the freezer, adding a few extra minutes to the baking time. -
What can I serve with these sushi cups?
These cups pair wonderfully with some edamame, a simple salad, or miso soup for a complete meal. -
Are there any gluten-free options?
You can use gluten-free soy sauce and ensure your nori is gluten-free as well for this recipe to be gluten-free.
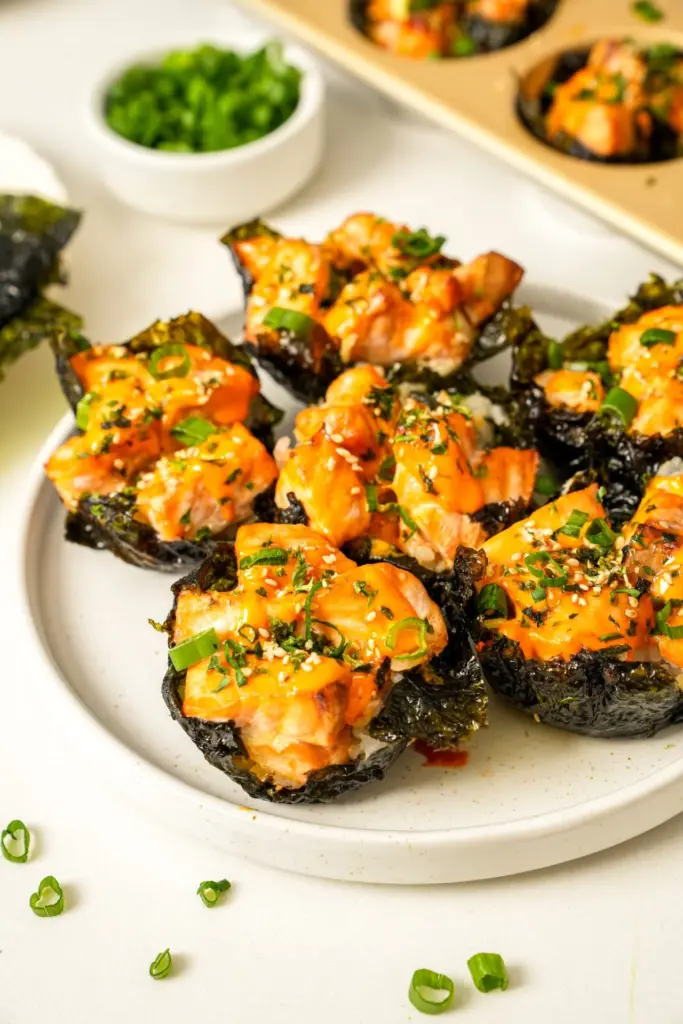
Easy Baked Salmon Sushi Cups
Ingredients
Method
- Begin by cooking the sushi rice according to package instructions. Set aside to cool slightly.
- In a microwave-safe bowl, combine the rice vinegar and sugar. Microwave for about 30 seconds or until sugar dissolves. Pour over cooked rice and mix gently.
- Preheat the oven to 400°F (200°C).
- In a separate bowl, combine salmon with soy sauce, Kewpie mayo, Sriracha, and sesame oil. Mix until evenly coated.
- Cut nori sheets into four rectangles or squares for muffin tin inserts.
- Lightly grease the muffin tin with cooking spray. Spoon sushi rice into each nori square, pressing down gently, then top with the salmon mixture.
- Bake for about 15 minutes or until salmon is cooked through and tops are golden brown.
- Cool for a few minutes, then garnish with furikake and chopped green onions before serving.




Leave a Reply