
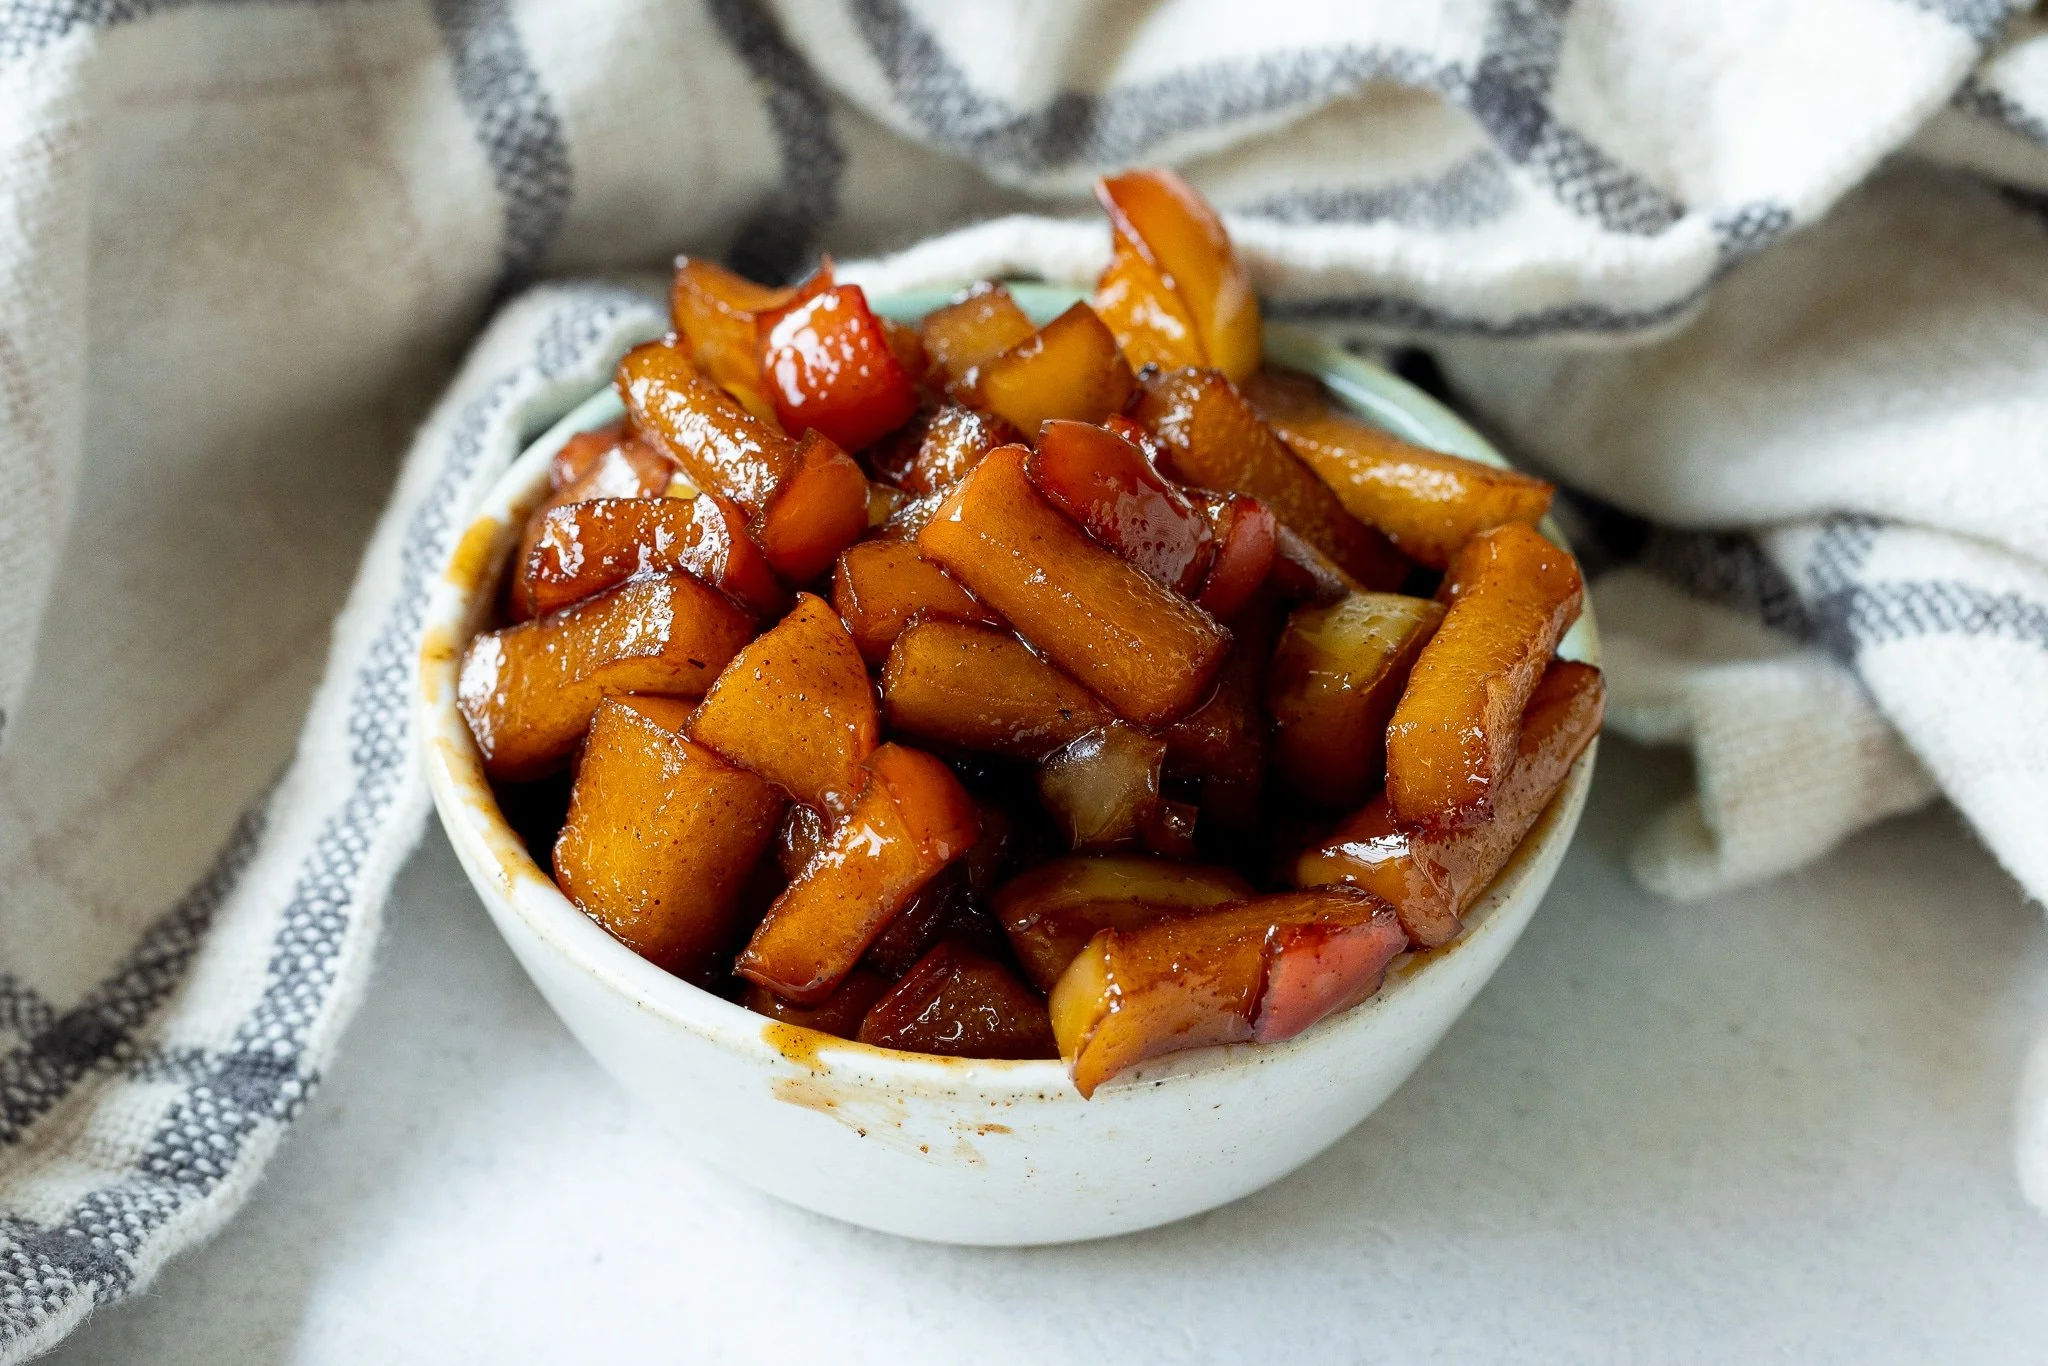
Caramelized Apples are a delightful treat that not only brings warmth and comfort into your kitchen but also creates an aroma that sweeps you into a nostalgic embrace. This easy-to-follow recipe is perfect for those who want to indulge in something sweet without spending hours in the kitchen. With simple, wholesome ingredients, these caramelized apples are a fantastic way to elevate your meals, whether for breakfast, dessert, or as a snack. In this step-by-step guide, you’ll learn how to transform a humble apple into a soft, sticky delight that everyone will love.
Ingredients
-
1 medium apple (about 1 ¼ cups chopped): Choose a sweet, firm variety for the best results. The apple should be juicy and fragrant, adding a delicious base to your caramelization.
-
2 tablespoons lemon juice or water: This component helps prevent oxidation, keeping your apples looking fresh and inviting, while also balancing the sweetness.
-
2 to 4 tablespoons coconut sugar: A natural, rich sweetener that imparts a lovely caramel flavor without overpowering the dish. Adjust the amount to suit your taste.
-
¼ teaspoon ground cinnamon: The aromatic warmth of cinnamon enhances the flavor profile, making these apples even more comforting and delightful.
Step-by-Step Directions
To ensure your caramelized apples turn out perfectly, it’s essential to prepare all ingredients before you start cooking. Apples oxidize and brown quickly; having everything ready will help keep them looking vibrant.
First, chop your medium apple according to your serving preference. If you plan to use these apples as a topping, consider peeling them and slicing them thinly. For oatmeal or a bowl treat, dicing may be ideal. I recommend leaving the skins on for added nutrition and a rustic look.
Next, heat a large nonstick skillet over medium heat. Add your apple pieces to the skillet, spreading them out in a single layer. Don’t worry if they’re close together; just ensure they have some space to cook evenly.
Pour the lemon juice or water over the apples and stir them gently with a spatula, ensuring every piece is coated. This step is crucial for maintaining their color and flavor.
Now, sprinkle the coconut sugar and cinnamon over the apples. Stir again to distribute the sweetness and spice evenly throughout the mixture.
Cook the apples over medium heat, stirring frequently—at least once a minute, but ideally twice. Keep an eye on them; the cooking time will vary based on the size of your apple pieces.
Your caramelized apples are ready when they become soft, caramel-colored, and coated in a thick, sticky syrup. This transformation should take about 8-10 minutes.
Serve the caramelized apples immediately for the best taste and texture, or let them cool slightly if you plan to use them as a topping for desserts or breakfast dishes.
If you have any leftovers (which is rare!), store them in an airtight container in the refrigerator for up to 1-2 days. However, their quality may decrease after a couple of days. They are delicious added to oatmeal, chia pudding, or enjoyed straight from the container!
Tips & Tricks
- Choose apples that are sweet and firm, such as Honeycrisp or Fuji, for the best caramelization results.
- Adjust the sweetness to your liking with more or less coconut sugar.
- For added depth, consider including a pinch of nutmeg or a splash of vanilla extract while the apples cook.
- If you want a more decadent version, add a tablespoon of butter when cooking, although it’s not necessary for flavor.
Serving Suggestions & Pairings
Caramelized Apples shine when served on top of vanilla ice cream, as warm apple topping for pancakes or waffles, or even as an elegant finishing touch to a cake. They also make a glorious addition to charcuterie boards, paired with cheese and nuts. Perfect for autumn gatherings or cozy family dinners, these apples can brighten any occasion.
Nutritional Information
A serving of caramelized apples made with coconut sugar typically contains about 120-150 calories, depending on the amount of sugar used. They offer fiber, vitamin C, and antioxidants, making them a wholesome addition to your meals. Remember to balance your treats with other nutritious foods as part of a healthy diet!
Storing Tips & Variations
To store, keep your caramelized apples in an airtight container in the fridge for 1-2 days. They can also be reheated gently in the microwave for about 20-30 seconds or warmed in a nonstick skillet. For variations, consider adding chopped nuts for crunch, incorporating different spices, or mixing in some dried fruits for extra texture and flavor.
Conclusion
Caramelized Apples are a delightful and accessible recipe that promises to impress your family and friends. Don’t hesitate to try this comforting dish and share your experiences in the comments! Whether you’re enjoying them warm or incorporating them into your favorite desserts, let these easy caramelized apples bring joy to your table.
FAQs
-
Can I use any type of apple for caramelizing?
- While you can use many types, sweet, firm apples like Honeycrisp, Fuji, or Gala yield the best results.
-
How do I prevent my apples from browning before cooking?
- Coating them in lemon juice or water right after cutting helps delay oxidation.
-
Can I make caramelized apples in advance?
- Yes, you can prepare them in advance and store them in the refrigerator. It’s best to consume them within 1-2 days.
-
What can I do with leftovers?
- Leftover caramelized apples are delicious on oatmeal, yogurt, or even as a topping for desserts like crumble and pancakes.
-
Are caramelized apples gluten-free?
- Yes, this recipe is entirely gluten-free and can be enjoyed by everyone!
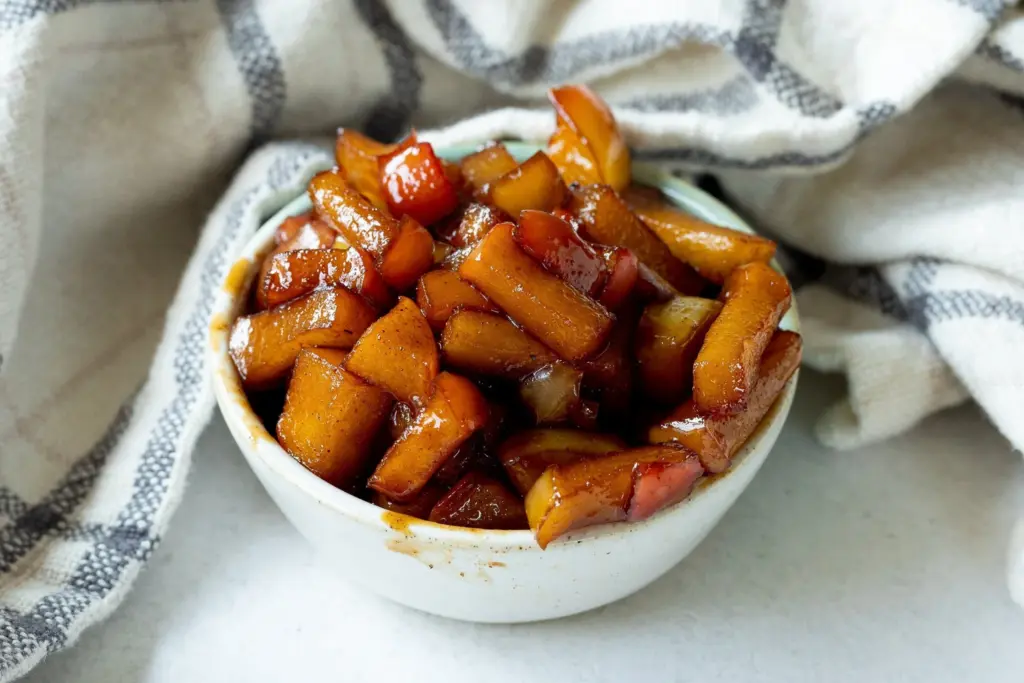
Caramelized Apples
Ingredients
Method
- Chop the apple according to your serving preference. Peel and slice thinly for topping, or dice for oatmeal. Keep the skins on for added nutrition.
- Heat a large nonstick skillet over medium heat. Spread the apple pieces in a single layer.
- Pour lemon juice or water over the apples and stir gently to coat.
- Sprinkle coconut sugar and cinnamon over the apples, stirring to combine.
- Cook the apples over medium heat, stirring frequently, until they are soft and caramel-colored, about 8-10 minutes.
- Serve immediately or allow to cool slightly for topping desserts.

Leave a Reply