
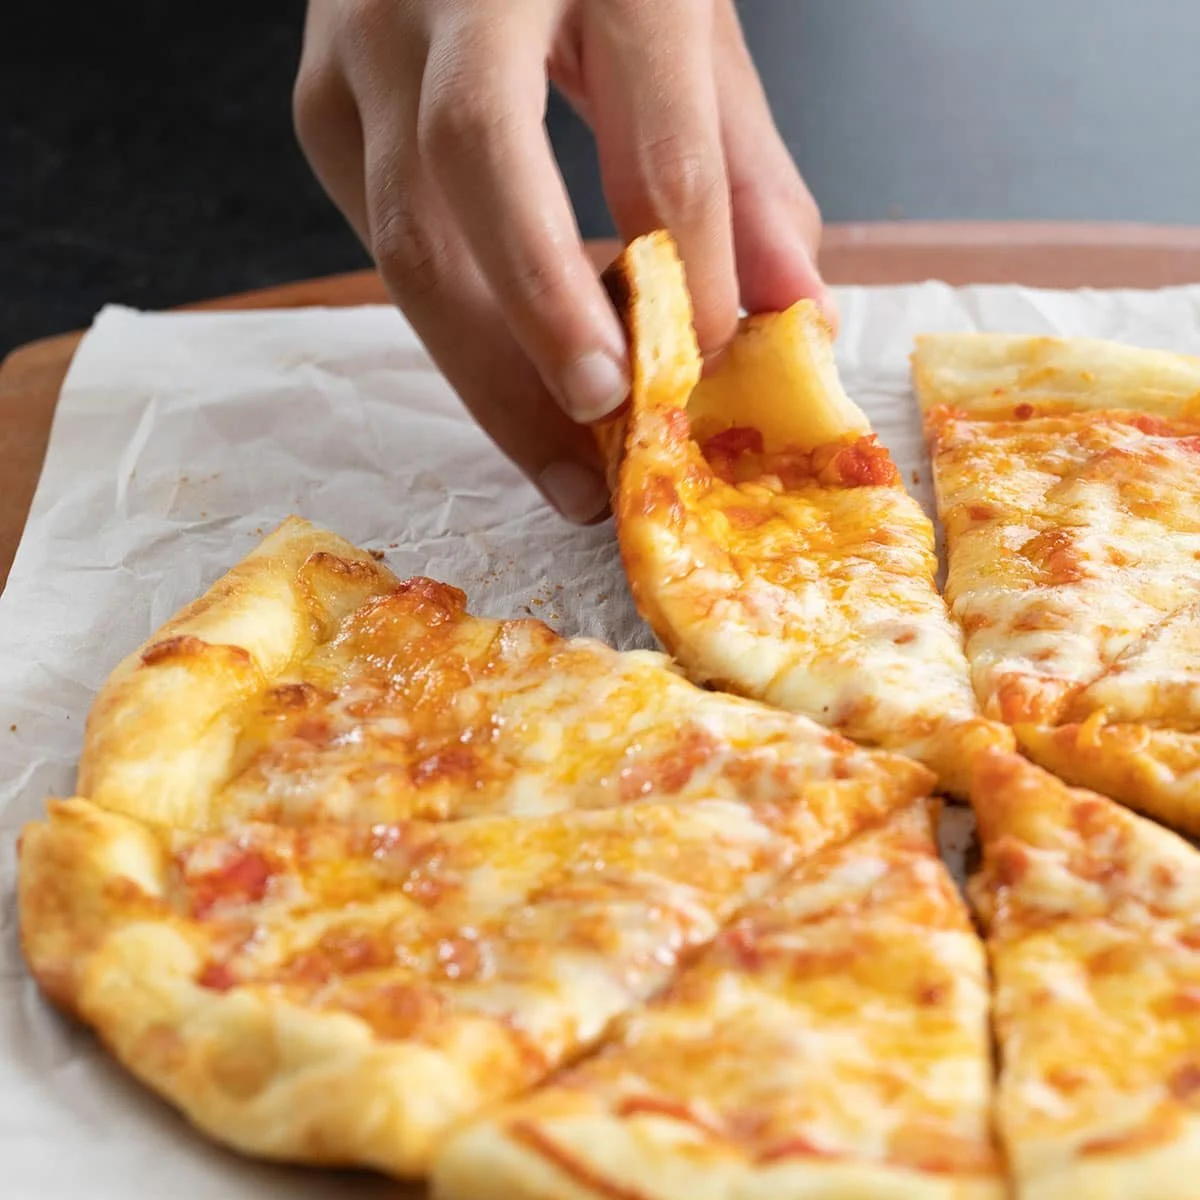
Stretchy Gluten Free Pizza Crust Recipe is a delightful dish that brings comfort to your table without the gluten. Imagine sinking your teeth into a crust that’s perfectly crispy on the outside and delightfully chewy on the inside. This pizza crust is not just easy to make; it’s a recipe that transports you back to those family pizza nights, full of laughter and joy. It’s an ideal choice for anyone craving pizza without compromising on dietary restrictions. Let’s dive into this step-by-step experience that ensures a delicious pizza night for you and your loved ones!
Ingredients
For this Stretchy Gluten Free Pizza Crust, you will need:
- 2 cups of all-purpose gluten-free flour blend – Look for a blend that provides the best texture; Better Batter is highly recommended for its superior quality.
- 1 teaspoon xanthan gum – If your gluten-free flour blend already includes it, feel free to omit this ingredient.
- 1/4 cup of tapioca starch/flour – It adds that charming elasticity to the crust.
- 2 teaspoons of instant yeast – This is what makes your crust rise and become fluffy.
- 1 1/2 teaspoons of granulated sugar – A touch of sweetness balances the flavors.
- 1 teaspoon of kosher salt – Essential for enhancing all the other flavors.
- 9.5 ounces of warm water (about 95°F) – Helps activate the yeast and brings the dough together.
- 2 tablespoons of extra virgin olive oil – Adds richness and enhances the flavor profile.
- Cooking oil spray – Prevents sticking during the shaping process.
- Your favorite pizza toppings – Choose from creamy cheeses, savory sauces, aromatic herbs, and your choice of toppings to create the perfect pizza.
Step-by-Step Directions
-
In the bowl of your stand mixer fitted with the paddle attachment, or using your food processor with the metal blade, combine the flour, xanthan gum, tapioca starch, yeast, and sugar. Use a separate handheld whisk to mix these dry ingredients thoroughly.
-
Next, add the kosher salt and whisk again to achieve a well-combined mixture. This ensures that the leavening agents are evenly distributed throughout the flour.
-
Pour in the warm water and olive oil. Mix on medium speed for about 2 minutes with your stand mixer or pulse the mixture in your food processor. You’ll notice the dough starting to come together.
-
Then, increase the speed or processing time to high for about 2 minutes. You’re looking for a smooth, cohesive dough that’s still soft and a bit sticky.
-
Carefully transfer the dough into an oiled container with a tight-fitting lid, or place it into a greased bowl and cover it tightly. This dough needs to work its magic in the refrigerator for at least an hour but can sit up to 3 days.
-
When you’re ready to make the pizza, position a pizza stone or an overturned rimmed baking sheet in your oven and preheat it to 450°F.
-
Divide the dough into two equal portions. With one piece, return the other to the refrigerator to keep it fresh. The dough will be very soft; it’s best handled with either wet hands or hands coated in cooking oil spray.
-
Take the piece of dough and place it on a clean sheet of parchment paper. Begin pressing it from the center outward to form a round about 12 inches in diameter, adjusting as needed to maintain an even thickness.
-
For a smoother shape, create a slight raised edge around the perimeter by pressing the edges with one hand towards the palm of the other.
-
Lightly spray the shaped dough with cooking oil spray, especially focusing on the edges. Add your sauce, cheese, and any other favorite toppings.
-
Finally, transfer the shaped and topped dough, still on the parchment paper, to a pizza peel or a cutting board. Carefully transfer it to the hot oven for baking.
-
Bake for 8 to 10 minutes, watching for the crust to become crisp on the underside and browned on the edges. The cheese should be bubbling and golden without letting it overbake.
-
Remove from the oven, allowing it to set for just a few minutes before slicing and serving hot to enjoy!
Tips & Tricks
- To prevent sticking, keep your hands wet or oiled while handling the dough.
- If the dough seems too soft, chilling it briefly in the refrigerator can help it firm up a bit for easier handling.
- Consider using parchment paper for both shaping and baking to make transferring the pizza effortless.
Serving Suggestions & Pairings
This Stretchy Gluten Free Pizza Crust is versatile and can be paired with numerous toppings and sides. Serve it with a simple garden salad drizzled with balsamic vinaigrette for a light meal. Consider adding garlic knots as a side for a true Italian feast, or enjoy it with a flavorful dipping sauce like marinara. Perfect for game nights or family gatherings, it transforms any evening into a celebration.
Nutritional Information
This pizza crust recipe offers a delicious balance for those watching their intake. Each serving of crust roughly contains about 200 calories, depending on toppings. It can provide about 5 grams of protein, and 4 grams of fiber when topped with plenty of veggies, contributing to a nutritious family meal. Enjoying pizza can indeed fit into a balanced lifestyle!
Storing Tips & Variations
Store any leftover dough in a covered container in the refrigerator for up to 3 days. It also freezes well; just ensure it’s tightly wrapped. To reheat the pizza, warm it in the oven at 350°F until heated through for the best texture. Feel free to experiment with your toppings—try barbecue chicken, or create a dessert pizza with Nutella and fruits for a delightful twist.
Conclusion
This Stretchy Gluten Free Pizza Crust Recipe is not just about satisfying a pizza craving; it’s about easing the cooking process while ensuring everyone can enjoy a comforting favorite. Give this recipe a try, and don’t hesitate to share your experiences and any variations you discover along the way!
FAQs
-
Can I use regular gluten-free flour instead of a blend?
- Yes, just ensure it’s a blend specifically formulated for pizza or baking to achieve the right texture.
-
What if I don’t have xanthan gum?
- If your flour blend already contains xanthan gum, you can skip this ingredient. If not, consider using psyllium husk as a substitute.
-
Is it possible to make the dough ahead of time?
- Absolutely! The dough can be refrigerated for up to 3 days or frozen for longer storage.
-
How do I make a thicker crust?
- For a thicker crust, press the dough into a smaller circle to create more height or double the recipe for more dough.
-
Can I use different toppings?
- Of course! Get creative with your favorite toppings like fresh vegetables, various cheeses, meats, or even vegan options to suit your diet.
So grab your ingredients and get ready to create a deliciously stretchy gluten-free pizza crust that everyone will love!

Stretchy Gluten Free Pizza Crust
Ingredients
Method
- In the bowl of your stand mixer or food processor, combine the flour, xanthan gum, tapioca starch, yeast, and sugar. Mix thoroughly with a whisk.
- Add the kosher salt and whisk again until well combined.
- Pour in the warm water and olive oil. Mix on medium speed for about 2 minutes until the dough starts to come together.
- Increase the speed to high and mix for another 2 minutes until you achieve a smooth, cohesive dough that’s soft and a bit sticky.
- Transfer the dough into an oiled container or greased bowl, cover tightly, and refrigerate for at least 1 hour (up to 3 days).
- When ready, preheat your oven to 450°F with a pizza stone or overturned baking sheet inside.
- Divide the dough into two equal portions, keeping one in the refrigerator while you work with the other.
- Place the dough on parchment paper and press from the center outward to form a 12-inch round.
- Create a slight raised edge around the perimeter by pressing the edges with your hands.
- Lightly spray the shaped dough with cooking oil spray, and add your sauce, cheese, and toppings.
- Transfer the topped dough (still on parchment) to a pizza peel or cutting board, then carefully place it in the hot oven.
- Bake for 8 to 10 minutes, watching for a crisp underside and golden edges with bubbling cheese.
- Remove from the oven, let it set for a few minutes, then slice and serve hot.




Leave a Reply