
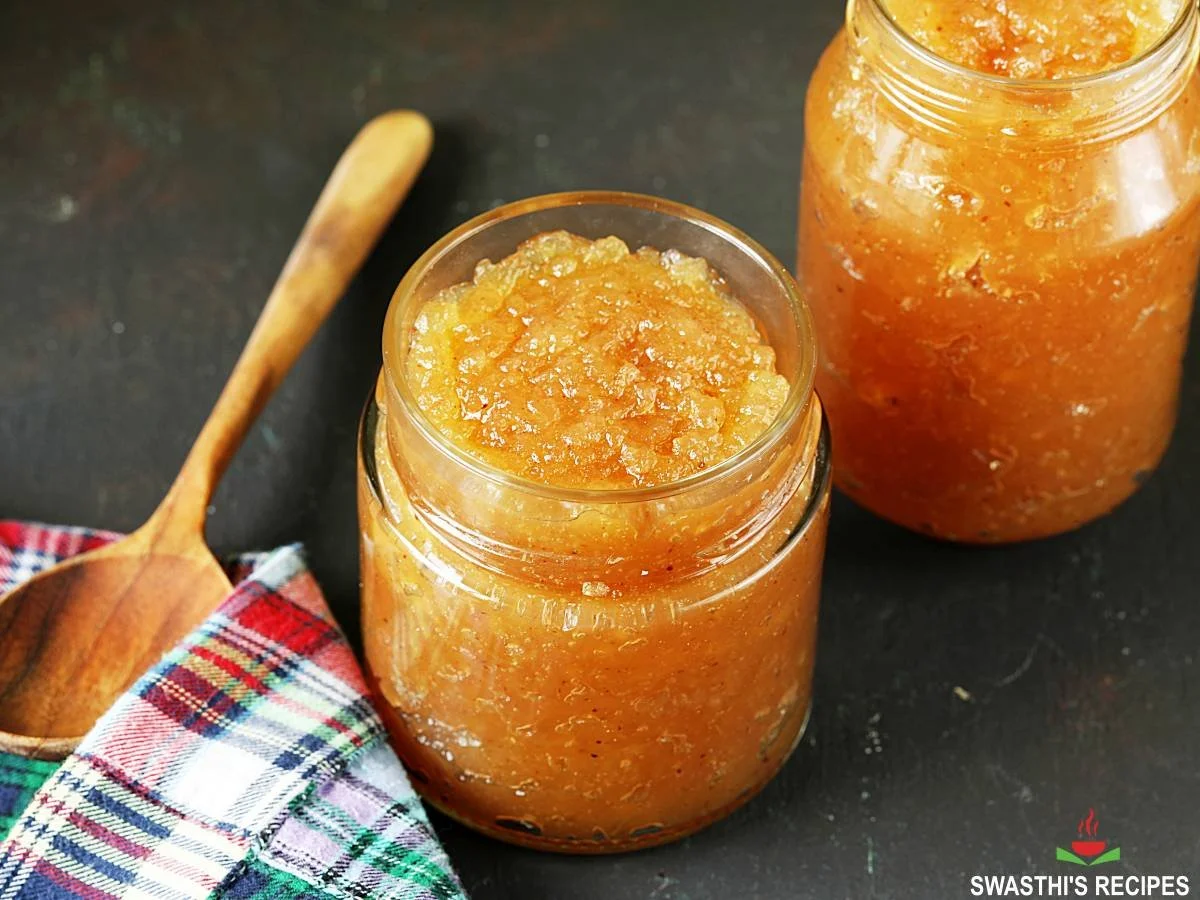
Apple Jam Recipe offers a delightful way to capture the essence of autumn right in your kitchen. This homemade jam is made from fresh, juicy apples bursting with sweetness, combined with aromatic spices like cinnamon and star anise. It’s a comforting blend that not only enhances your breakfast toast or pancakes but also evokes fond memories of cozy family gatherings. Preparing this Apple Jam is an easy, step-by-step process that leaves you with a jar of deliciousness perfect for sharing or savoring on your own.
Ingredients
- 450 grams (1 lb.) apples: Opt for your favorite variety, whether it’s tart Granny Smith or sweet Fuji, to create a jam that’s either tangy or syrupy.
- ¾ cup sugar: This sweetener enhances the natural flavors of the apples, creating a jam that’s just the right amount of sweet.
- 3 tablespoons apple vinegar: Adds a gentle tang that accentuates the richness of the apples.
- 3 tablespoons water: Helps in breaking down the apples while cooking.
- 1 tablespoon vanilla extract: Introduces a warm, aromatic layer that complements the sweetness beautifully.
- 2 to 3-inch cinnamon stick: Provides a fragrant spice that warms the jam with its rich, earthy notes.
- ¼ teaspoon ground cinnamon: Adjusts the spice to your personal taste, enhancing the overall flavor.
- 1 star anise: Imparts a subtle licorice flavor, elevating the jam into something truly memorable.
Step-by-Step Directions
-
Begin your Apple Jam journey by rinsing, peeling, coring, and quartering the apples to prepare them for processing. If you have a food processor, grate the apples to achieve a softer texture; if not, finely chop them as close to possible.
-
Move the grated apples into a heavy-bottomed saucepan or pot. Add the apple vinegar and water to the mixture along with the cinnamon stick and star anise. Stir gently to combine.
-
Cover the pot and cook on low heat. Allow the apples to simmer gently until they start to soften, releasing their juices and melding flavors.
-
Once softened, slowly sprinkle in the sugar, stirring frequently as it dissolves into the mixture. Keep cooking, continuing to stir often until the jam thickens significantly.
-
When you notice it thickening, sprinkle in the ground cinnamon and vanilla extract, mixing well to incorporate their flavors fully.
-
To check for doneness, use a spatula to swipe the bottom of the pot; if a trail forms and doesn’t close back up immediately, your jam is nearly ready.
-
Perform a final test by dropping a spoonful of the jam on a cold plate; it should maintain its shape and not spread. You can also run your finger through the center of the cooled jam, leaving a clear line.
-
Once reach the desired consistency, allow the Apple Jam to cool entirely before transferring it into a clean, airtight glass jar for storage.
Tips & Tricks
- For a more intense flavor, opt for a mixture of apple varieties to create depth in taste.
- Don’t rush the thickening process; keeping the heat low allows the flavors to develop beautifully without burning.
- If you enjoy a hint of tartness, consider adding a splash of lemon juice.
Serving Suggestions & Pairings
Apple Jam is incredibly versatile! It pairs perfectly with classic breakfast staples like toast, parathas, or fresh bread. Spread it on pancakes or waffles for a delightful layer of sweetness, and it can also make a fantastic filling for pastries or tarts. Serve alongside a charcuterie board featuring cheese, nuts, and cured meats to introduce a refreshing contrast to rich flavors.
Nutritional Information
One tablespoon of homemade Apple Jam typically contains approximately 50 calories, alongside minimal fat but a moderate amount of carbohydrates primarily from natural sugars. It’s important to balance this sweet treat with other nutritious foods throughout the day, ensuring a well-rounded diet.
Storing Tips & Variations
Store your cooled Apple Jam in a clean, dry glass jar, ensuring it’s sealed tightly to prolong freshness. It can last for a few months when kept in the refrigerator. For a delightful twist, consider adding other fruits like pears or berries during the cooking process, or infuse with herbs like rosemary for a gourmet touch.
If you want to preserve the jam long-term, canning is a great option. Follow safe canning practices to ensure that your Apple Jam can be enjoyed for seasons to come.
Conclusion
Embrace the joys of homemade preserves with this Apple Jam recipe. It captures the warm, inviting flavors of fresh apples and spices, making it the perfect addition to your kitchen. Try it out, enjoy the process, and feel free to share your experience and variations!
FAQs
-
Can I use any type of apple for this recipe?
Yes! Different apple varieties will give your jam unique flavors and textures. Experiment to find your favorite combination! -
What do I do if my jam is too runny?
If the jam does not thicken, continue to cook it on low heat, stirring often until it reaches the desired consistency. -
How long can I store my Apple Jam?
Properly stored, your Apple Jam will last several months in the refrigerator. Be sure to use clean utensils to keep it fresh. -
Can I freeze Apple Jam?
Yes, you can freeze your Apple Jam in airtight containers. Just be sure to leave some space for expansion as it freezes. -
What can I use instead of apple vinegar?
You can substitute with lemon juice or white vinegar if apple vinegar isn’t available, though this may slightly alter the flavor profile.
Dive in and create delightful memories with your Apple Jam!
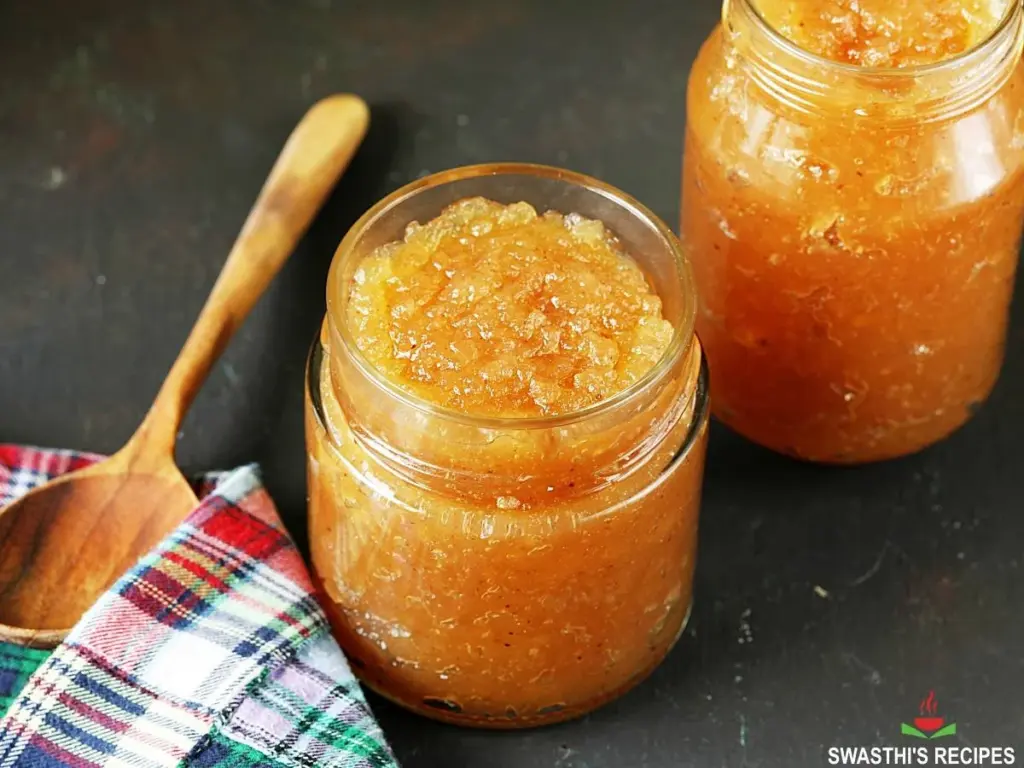
Apple Jam
Ingredients
Method
- Rinse, peel, core, and quarter the apples.
- Grate the apples using a food processor, or finely chop them.
- Move grated apples to a heavy-bottomed saucepan.
- Add apple vinegar, water, cinnamon stick, and star anise. Stir gently.
- Cover and cook on low heat until apples soften and release juices.
- Gradually sprinkle in sugar while stirring until dissolved. Continue cooking until jam thickens.
- Mix in ground cinnamon and vanilla extract once thickening begins.
- Conduct doneness test by swiping the bottom of the pot; if a trail forms, it’s nearly ready.
- Test with a spoonful on a cold plate; if it holds shape, it’s done.
- Allow jam to cool completely before transferring to a clean glass jar.



Leave a Reply