
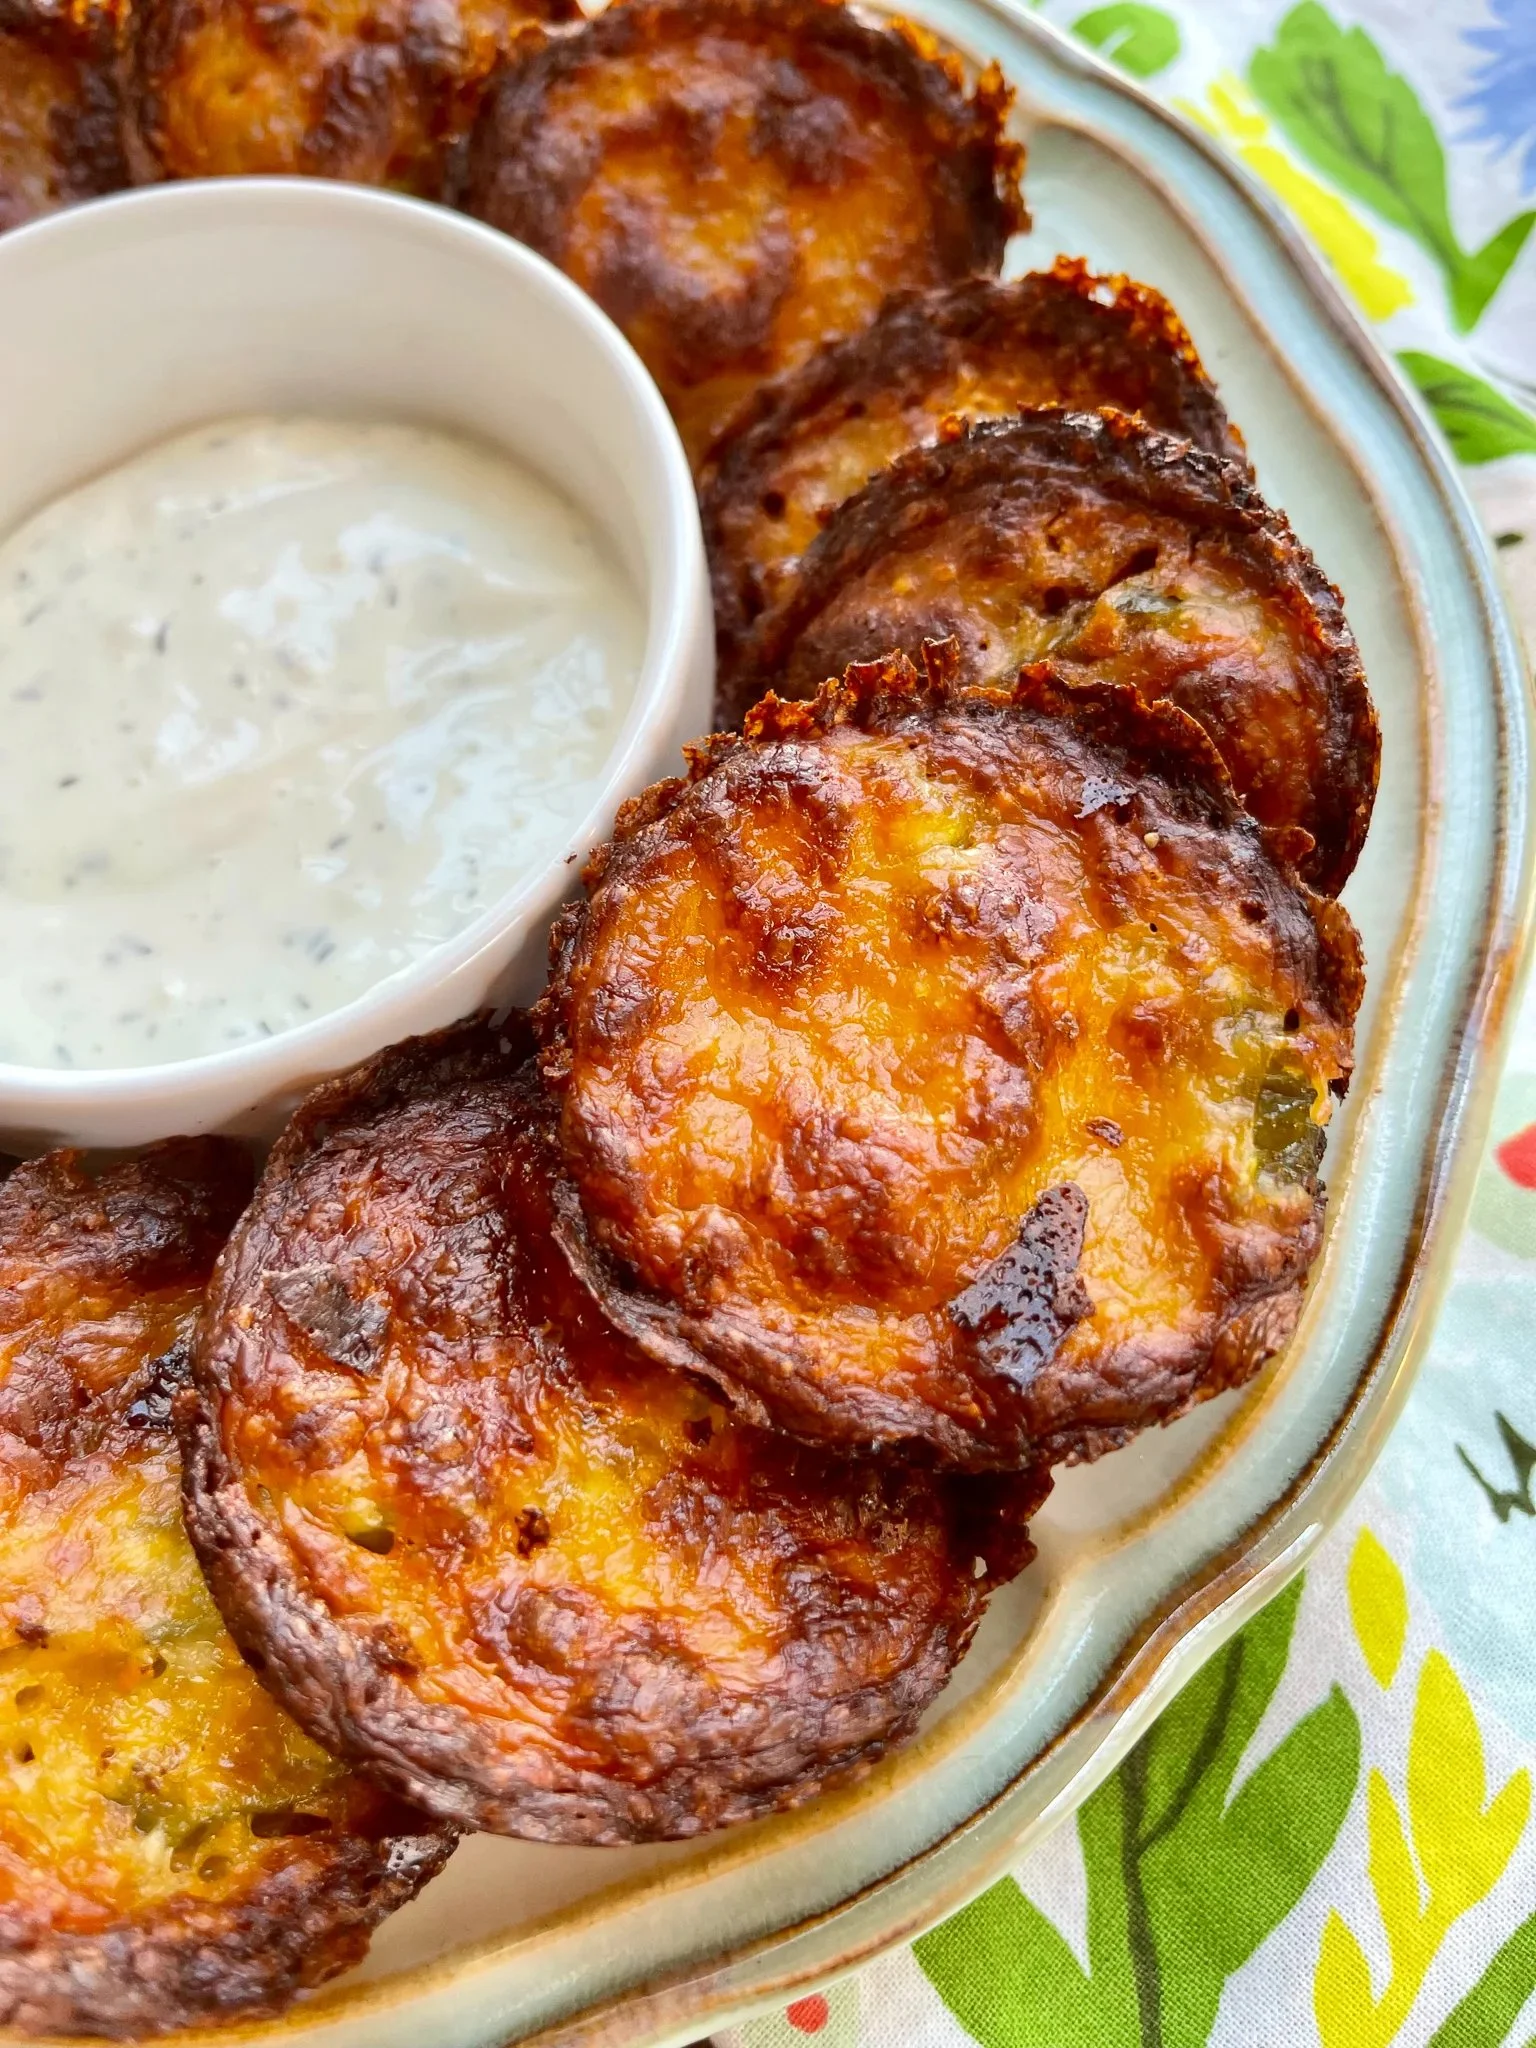
Crispy Cheesy Dill Pickle Chips are an irresistible combination of cheesy goodness and the delightful crunch of dill pickles. This recipe is a game-changer for snack time, perfect for gatherings, or a cozy movie night at home. Easy to make and packed with flavor, these crunchy treats evoke nostalgic memories of classic appetizers, making them an instant favorite for everyone. In this step-by-step guide, you’re about to learn how to whip up this delightful dish that combines crispy cheese with tangy dill pickles, ensuring your snack cravings are met with a comforting and flavorful experience.
Ingredients
To create these mouthwatering Crispy Cheesy Dill Pickle Chips, you will need:
- 2 cups Shredded Cheese (Colby Jack is highly recommended for its creamy texture and rich flavor)
- 24 – 36 Dill Pickle Chips (adjust the amount based on appetite)
- 1 tbsp. Blackening Seasoning (for that perfect hint of spice)
As you gather these ingredients, imagine the creamy richness of the melted cheese contrasting beautifully with the juicy crunch of the dill pickles, all topped with a slightly spicy kick that elevates each bite.
Step-by-Step Directions
Step 1: Preheat Your Oven
Start by preheating your oven to 400°F. A hot oven will ensure that the cheese melts and turns beautifully golden brown, giving those crispy pickle chips the perfect texture.
Step 2: Prepare the Pickle Chips
While your oven is heating up, take 24 to 36 dill pickle chips and pat them dry with a few paper towels. This step is crucial because it helps the cheese adhere better to the pickles and creates that lovely crispiness.
Step 3: Fill the Muffin Tin
Grab a non-stick 12-cup muffin tin. If you’re concerned about sticky situations, spray it with non-stick cooking spray. Next, fill each cup with a big pinch of shredded cheese, creating a base layer that will marry perfectly with the pickles.
Step 4: Assemble the Chips
Top each cheese cup with two or three dill pickle chips. The pickles should nestle right into the cheese, ensuring maximum flavor fusion. Now, sprinkle your favorite seasoning blend into each cup, followed by a generous layer of cheese on top to cover the pickles completely.
Step 5: Bake to Perfection
Place the muffin tin in the preheated oven and bake for 15 minutes. Keep an eye on them; you’re looking for the cheese to melt and turn a delightful shade of golden brown, which indicates those crispy cheesy delights are ready.
Step 6: Optional Air Frying
For an extra crispy finish, remove the cheesy pickle chips from the muffin tin and place them in the air fryer at 400°F for an additional 5 minutes. This final touch will enhance the crunch factor, making these treats utterly addictive.
Step 7: Serve
Serve your Crispy Cheesy Dill Pickle Chips immediately, paired with your favorite dipping sauce. I personally adore these with ranch dressing or my Tangy Alabama White Sauce for an added flavor dimension.
Tips & Tricks
- Customize Your Cheese: Feel free to experiment with different types of cheese like cheddar or mozzarella to find your perfect flavor combination.
- Add Herbs: Fresh or dried herbs, such as dill or parsley, can enhance the flavor profile even more.
- Level Up Your Dipping Sauce: Go beyond ranch and consider spicy mayo or even a herbed yogurt sauce for a refreshing twist.
Serving Suggestions & Pairings
These Crispy Cheesy Dill Pickle Chips are perfect for a variety of occasions. Serve them at game day gatherings, as party appetizers, or even as a fun snack while binge-watching your favorite series. Pair them with a light salad or serve alongside a hearty sandwich for a complete meal.
Nutritional Information
Each serving of Crispy Cheesy Dill Pickle Chips contains approximately 200 calories. They offer protein from the cheese, while the pickles provide a low-calorie crunch. Just remember to enjoy them in moderation, balancing them with healthier options throughout your day.
Storing Tips & Variations
If you have leftovers (though they might disappear quickly!), store your Crispy Cheesy Dill Pickle Chips in an airtight container in the refrigerator for up to three days. To reheat, simply pop them back in the oven or air fryer for a few minutes until warmed through.
For variations, consider adding spicy peppers or bacon bits into the cheese mixture. You can also try swapping in different seasonings or using sliced jalapeños for a fiery kick.
Conclusion
Now that you have the complete guide to making Crispy Cheesy Dill Pickle Chips, don’t hesitate to try this delicious recipe. Whether for a casual snack or a festive occasion, these cheesy, crispy delights are sure to impress your friends and family. Once you’ve made them, I’d love to hear about your experience—share your thoughts in the comments below!
FAQs
1. Can I use different types of cheese?
Yes! Cheddar, mozzarella, or pepper jack can be excellent alternatives for a varied flavor.
2. How do I make these gluten-free?
This recipe is naturally gluten-free as it doesn’t contain any flour. Just ensure any additional seasonings or sauces are also gluten-free.
3. Can I freeze these chips?
While you can freeze the assembled chips before baking, the texture might change once reheated. It’s best enjoyed fresh!
4. What dipping sauces pair well with these chips?
Ranch, spicy mayo, herbed yogurt sauce, or tangy vinaigrettes work beautifully.
5. What if I don’t have a muffin tin?
If you lack a muffin tin, you can use a baking sheet lined with parchment paper. Just mound the cheese and pickles into small clusters.
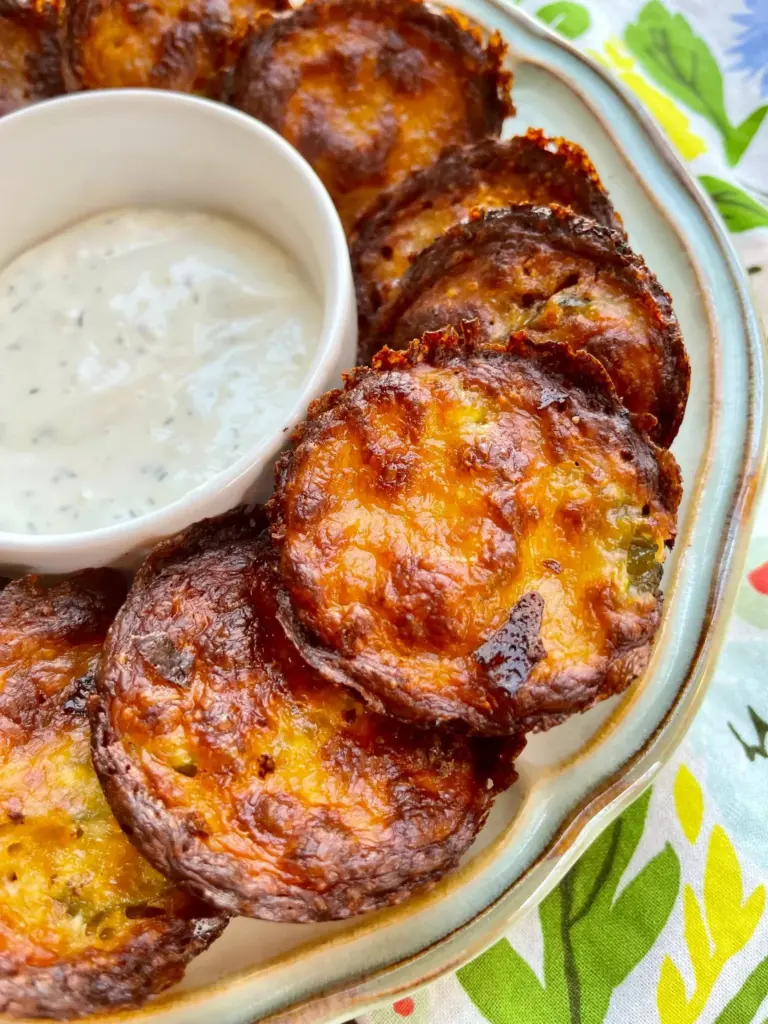
Crispy Cheesy Dill Pickle Chips
Ingredients
Method
- Preheat your oven to 400°F.
- Pat dry 24 to 36 dill pickle chips with paper towels.
- Spray a non-stick 12-cup muffin tin with cooking spray.
- Fill each cup with a big pinch of shredded cheese.
- Top each cheese cup with two or three dill pickle chips.
- Sprinkle seasoning into each cup and add a generous layer of cheese on top.
- Place the muffin tin in the preheated oven and bake for 15 minutes until the cheese is golden brown.
- For extra crispiness, remove from the muffin tin and air fry at 400°F for an additional 5 minutes.
- Serve immediately with your favorite dipping sauce.

Leave a Reply