
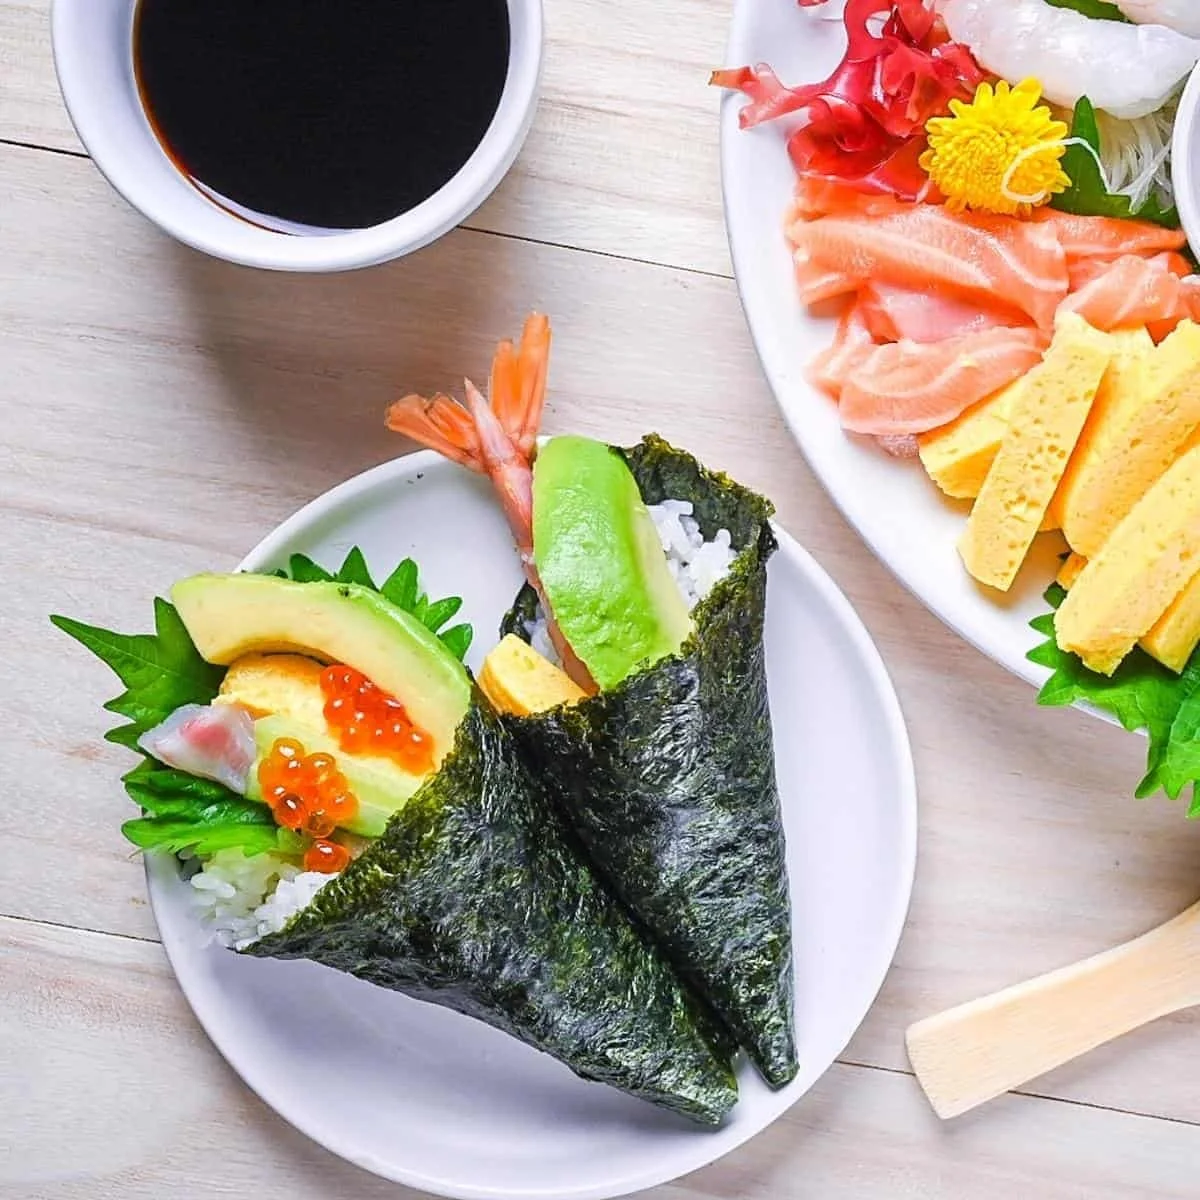
Temaki Sushi (Hand Roll Sushi)
Temaki Sushi, or hand roll sushi, is a delightful and interactive dish that brings an element of fun to your dining table. Imagine sitting down with family or friends, surrounded by vibrant ingredients, and assembling your own sushi rolls with your favorite fillings. This recipe is easy to prepare, making it perfect for a cozy family night or an informal gathering. The step-by-step process not only simplifies sushi-making but also allows you to customize each roll according to your taste buds.
Ingredients
To create the perfect Temaki Sushi, you’ll need the following ingredients:
- 300 g uncooked Japanese rice: This short-grain rice is sticky and gives the sushi its signature texture.
- 350 ml water: Essential for cooking the rice to achieve the right consistency.
- 5 g dried kelp (kombu, optional): This adds a subtle umami flavor to the rice.
- 1 tbsp sake (optional): Adds fragrance; however, it can be omitted if you prefer.
- 2 tbsp rice vinegar: Offers tanginess that enhances the flavor.
- 1 tbsp sugar: Balances out the vinegar.
- ½ tbsp salt: To season the rice.
- 8 sheets of roasted seaweed for sushi (nori): Provides a crunchy wrap for your hand rolls.
- Wasabi paste (optional): For those who enjoy a spicy kick.
- 250 g sushi-grade fish of your choice (such as tuna or salmon): Fresh, creamy, and bursting with flavor.
- 200 g vegetables of your choice (like cucumber or avocado): Crunchy or creamy additions that complement the fish.
- Fillings of your choice: Be creative! Include whatever ingredients you love.
- Japanese soy sauce (koikuchi shoyu): For dipping, adding umami richness.
Step-by-Step Directions
-
Start by rinsing the rice. Pour 300 g uncooked Japanese rice into a sieve placed over a mixing bowl. Fill the bowl with cold water, submerging the rice. Swish it around, then drain and repeat this process three times to remove excess starch and any debris.
-
Soak the rice. Transfer the rinsed rice to a cooking pot, add 350 ml water along with 5 g dried kelp (kombu) if using. Let it soak for 30 minutes to 1 hour to allow the grains to absorb some water.
-
Cook the rice. Optionally add 1 tbsp of sake, then place the pot on the stove. Turn the heat to medium and bring it to a boil. Once you hear a steady bubbling, set a timer for 30 seconds. After that, reduce the heat to medium-low and set another timer for 2 minutes.
-
Simmer the rice. When the 2 minutes are up, reduce the heat to a simmer and set a timer for 5 minutes. After 5 minutes, crank the heat to high for 10 seconds, then turn off the stove. Leave the pot covered for an additional 10 minutes to finish cooking in the residual steam.
-
Prepare the sushi vinegar. After 10 minutes, remove the lid, take out the kombu if used, and gently mix the rice without crushing it. In a small bowl, combine 2 tbsp rice vinegar, ½ tbsp salt, and 1 tbsp sugar until dissolved.
-
Season the rice. Transfer the rice to a wide container (this helps it cool faster) and pour the vinegar mixture on top while it’s still warm. Stir and fan the rice to cool it quickly.
-
Keep the rice covered. Lay a damp tea towel over the rice to prevent it from drying out until you’re ready to serve.
-
Prepare the nori. Cut 8 sheets of roasted seaweed for sushi (nori) in half. Set one piece horizontally in front of you.
-
Form the base. Place about 30 g of sushi rice onto one half of the nori, spreading it out while leaving the top corner empty. For less sticking, wet your hands before handling the rice.
-
Add seasoning. Optionally spread a thin layer of wasabi paste diagonally through the middle of the rice triangle.
-
Layer the fillings. Place your chosen fillings of fish, vegetables, and any extras over the wasabi.
-
Shape the roll. Bring the bottom left corner of the nori up to the center, so the short edges of the rice triangle connect. Roll the remaining nori around to form a cone shape, aligning the points for a polished look.
-
Serve. Place your beautifully crafted Temaki on a plate. Dip it in Japanese soy sauce (koikuchi shoyu) and enjoy your delicious hand rolls!
Tips & Tricks
- Fresh ingredients are key. Always use fresh, sushi-grade fish and vegetables for the best flavors.
- Experiment with flavors. Don’t hesitate to try new fillings like tempura shrimp or pickled veggies to discover combinations that delight your palate.
- Make it a group activity. Create a sushi bar with assorted fillings and toppings so everyone can enjoy rolling their own sushi.
Serving Suggestions & Pairings
Temaki Sushi is best served immediately while the rice is still warm, and the nori is crispy. Pair it with miso soup for a comforting meal or serve it alongside a refreshing cucumber salad. For drinks, consider pairing it with green tea or cold sake for a traditional touch.
Nutritional Information
Each serving of Temaki Sushi contains approximately:
- Calories: 350-450 (varies based on fillings)
- Protein: 20-25 g
- Carbohydrates: 50-60 g
- Fats: 10-15 g
Sushi can be part of a balanced diet, emphasizing fresh ingredients and moderation when enjoying rich toppings.
Storing Tips & Variations
- Storing: If you have leftover rice, store it in an airtight container in the refrigerator and use it within a day. It’s best not to store assembled Temaki as the nori can become soggy.
- Freezing: Generally, it’s not recommended to freeze sushi as it compromises texture.
- Variations: Consider making a vegetarian version using a mix of seasoned tofu, grilled vegetables, or even fruit such as mango for a unique twist.
Conclusion
Now that you’ve learned how to make Temaki Sushi, it’s time to gather your ingredients and dive into this exciting culinary adventure. Whether you create simple hand rolls or experiment with diverse fillings, the experience of making and enjoying Temaki is truly unforgettable. Share your results with family and friends, and don’t hesitate to swap stories about your sushi creations!
FAQs
-
Can I use regular rice instead of Japanese rice?
- Regular long-grain rice won’t have the desired stickiness, which is essential for sushi. Stick to Japanese short-grain rice for best results.
-
Is making sushi a time-consuming process?
- Not at all! With this step-by-step guide, you’ll find that making Temaki Sushi is both quick and enjoyable, especially when you get the hang of it.
-
What are some good vegetarian fillings?
- Great vegetarian options include avocado, cucumber, pickled radish, and seasoned tofu. Feel free to customize based on your preferences!
-
How do I know if my fish is sushi-grade?
- Purchase from a reputable fishmonger or source that specifically labels fish as “sushi-grade” or “sashimi-grade.”
-
Can I prepare the rice in advance?
- Yes, you can prepare the rice a few hours in advance. Just make sure to keep it covered to maintain moisture until you’re ready to roll.
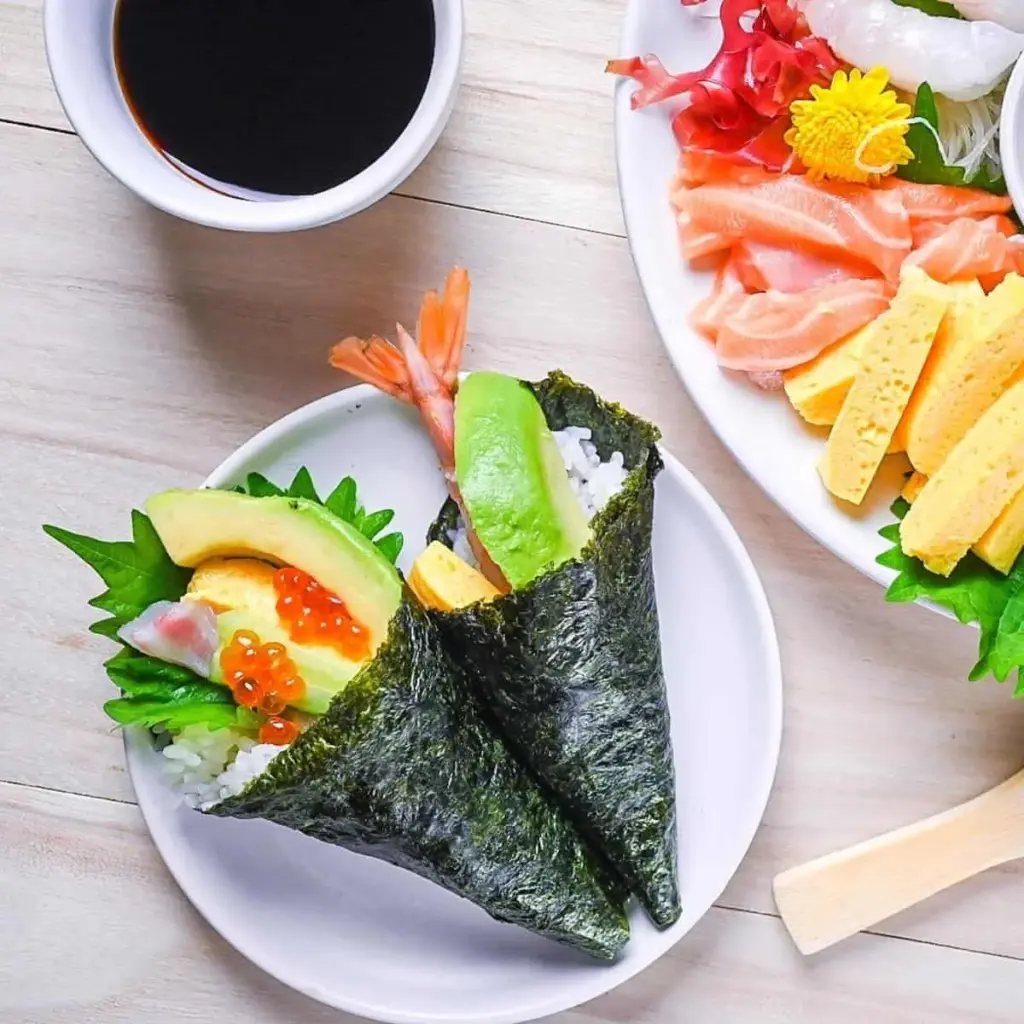
Temaki Sushi
Ingredients
Method
- Rinse the rice by pouring 300 g uncooked Japanese rice into a sieve over a mixing bowl filled with cold water. Swish it around, drain, and repeat three times.
- Soak the rinsed rice in a cooking pot with 350 ml water and the dried kelp (kombu) for 30 minutes to 1 hour.
- Optionally add 1 tbsp of sake, bring to a boil over medium heat, then set a timer for 30 seconds. Reduce heat to medium-low and set a timer for 2 minutes.
- Simmer the rice on low heat for 5 minutes. Then crank heat to high for 10 seconds and turn off the stove, leaving the pot covered for an additional 10 minutes.
- After 10 minutes, remove the lid, take out the kombu if used, and gently mix the rice without crushing it.
- In a small bowl, combine 2 tbsp rice vinegar, ½ tbsp salt, and 1 tbsp sugar until dissolved, then pour over the warm rice and stir.
- Transfer the rice to a wide container, cover with a damp tea towel until ready to serve.
- Cut 8 sheets of nori in half and set one piece horizontally in front of you.
- Place about 30 g of sushi rice onto one half of the nori, spreading it while leaving the top corner empty.
- Optionally spread a thin layer of wasabi paste diagonally through the rice triangle.
- Layer your chosen fillings of fish, vegetables, and any extras over the wasabi.
- Bring the bottom left corner of the nori up to the center, then roll the remaining nori around to form a cone shape.
- Place your Temaki on a plate, dip in soy sauce, and enjoy!




Leave a Reply