
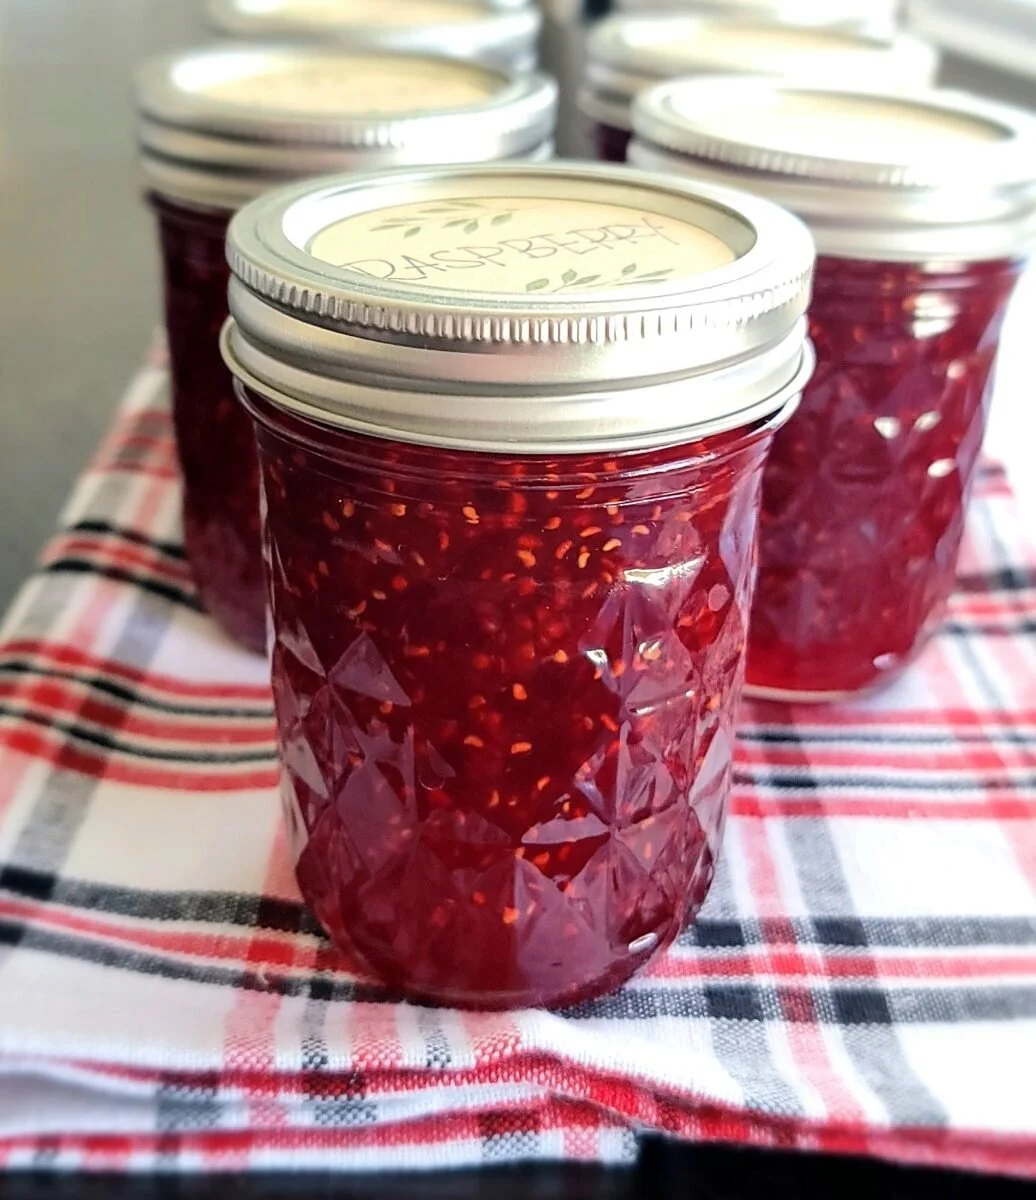
Homemade Raspberry Jam is a delightful treat that will transport you to sun-drenched summer fields with each spoonful. The vibrant, aromatic raspberries shine through, bursting with juicy sweetness that perfectly balances a hint of tartness. Making your own raspberry jam is not only a fun and rewarding experience; it’s a heartfelt way to bring family and friends together. This easy, comforting, and nostalgic Recipe comes with step-by-step directions that make the process as simple as can be, ensuring that even novice cooks can create this delightful preserve quickly and easily.
Ingredients
- 5 (6 oz) containers fresh raspberries (about 8 cups of berries)
- 1 (1.7 oz) box Sure Jell fruit pectin
- 1/2 tsp butter
- 6 1/2 C sugar
- Equipment:
- 4 pint jars, or 8 half-pint jars
- New lids
- Rings
- Water bath canner
The fresh raspberries, with their deep red color and glossy skin, are a treat for the eyes and the palate. Each berry is sweet, juicy, and slightly tangy, bringing a wonderful contrast to your homemade jam. The addition of Sure Jell fruit pectin ensures a perfect set, while the butter helps to minimize foaming, lending a smooth texture to the final product. The sugar plays a crucial role in sweetness and preservation, harmonizing with the raspberries to create that classic jam flavor. Having the right jars and equipment ensures that your jam stays fresh and flavorful for many months to come.
Step-by-Step Directions
-
Prepare Your Jars: Begin by washing and drying your jars, lids, and rings in hot soapy water, ensuring that they are thoroughly rinsed. This step is vital for maintaining the freshness of your jam and avoiding contamination.
-
Heat the Lids: In a small saucepan, heat water to a boil, then remove it from heat and add the lids and rings. This simple step helps the lids seal faster once they are placed on the jars, ensuring a secure closure. Remember, while rings can be reused, lids should be replaced each time.
-
Measure the Sugar: Measure out your sugar into a large bowl, ready for mixing. Keep in mind that this ingredient is key for sweetness and consistency in your jam.
-
Prepare the Raspberries: Place the fresh raspberries into a large pot. There’s no need to crush them; they’ll naturally break down as they heat.
-
Add Pectin and Butter: Sprinkle your pectin over the raspberries and add the butter. This will help reduce foaming and result in a clearer jam.
-
Heat the Mixture: Turn the heat to high and stir the mixture as it heats. Bring it to a rolling boil—this means it bubbles continuously, even as you stir.
-
Incorporate the Sugar: Once boiling, add the sugar while continuously stirring until it returns to a rolling boil. Allow it to boil hard for 1 full minute.
-
Transfer the Mixture: Carefully pour half of the mixture into a large glass measuring cup for easy handling. Alternatively, use a ladle if you prefer.
-
Fill the Jars: Carefully pour the hot jam into pint or half-pint jars. Wipe the rim of each jar with a wet paper towel to remove any residue that might interfere with sealing.
-
Seal the Jars: Immediately place the dried lids and rings onto the filled jars and twist closed. Acting quickly while the jam is hot helps ensure a secure seal.
-
Process in a Water Bath Canner: Process your jam in a water bath canner for longer preservation. This step is often valued for extending the shelf life of your homemade goodness. You can read more about how to perform this canning process here.
-
Check the Seals: After cooling on the counter, listen for the iconic popping sound—this indicates that your jars have sealed properly. After 24 hours, press the centers of the jars; they should be firm and not give at all if sealed.
-
Store Properly: Keep your jam in a cool, dry place for up to 12 months. Once opened, store it in the refrigerator.
Tips & Tricks
- Use fully ripe raspberries for the best flavor and natural sweetness.
- If you want a smoother jam, feel free to crush the raspberries slightly before cooking.
- Consider adding a splash of lemon juice for an extra tangy kick.
- Experiment with spices, such as cinnamon or vanilla, to give your jam a unique twist.
Serving Suggestions & Pairings
Homemade Raspberry Jam pairs beautifully with a variety of foods. Spread it generously on warm toast or flaky biscuits for a delicious breakfast. Use it as a filling for pastries or layer it into cakes for added sweetness. Consider serving it alongside creamy cheeses, like Brie or goat cheese, for a delightful appetizer with a touch of sophistication. Additionally, it makes a charming gift for friends and family when beautifully jarred and labeled.
Nutritional Information
A typical serving of raspberry jam (2 tablespoons) contains approximately 100 calories, with minimal fat, around 0.1g protein, and a significant amount of sugars due to the added sugar, along with some micronutrients like vitamin C from the raspberries. Enjoy it in moderation as part of a balanced diet, where it can offer a tasty treat amidst your wholesome meals.
Storing Tips & Variations
Store your sealed jars in a cool, dark place away from direct sunlight. Once opened, the jam should be refrigerated and can last for several weeks. You can also freeze the jam in airtight containers for longer storage, just remember that the texture may change slightly upon thawing. For variations, combine raspberries with other berries or flavors, such as strawberries, blueberries, or even a hint of mint for a refreshing twist.
Conclusion
You’ll love making your own Homemade Raspberry Jam, not just for the enjoyable process but also for the little jars of sunshine that you’ll create. Don’t hesitate to share your experience as you discover the joy of spreading this homemade delight on your favorite breakfast items or incorporating it into special occasions. Give this recipe a try, and relish in the fruits of your labor!
FAQs
1. Can I use frozen raspberries for this recipe?
Yes! If you have frozen raspberries, they can be used in place of fresh ones. Just remember to check out our post on how to make jam from frozen berries for tips!
2. How do I know if my jars have sealed properly?
After processing, listen for a popping sound as the jars cool. This means they have sealed correctly. Also, the top of the lid should be firm and not pop back when pressed.
3. How long can I store homemade raspberry jam?
When stored in a cool, dry place, sealed jars can last up to 12 months. Once opened, keep the jam in the refrigerator for optimal freshness.
4. Can I double the recipe?
Absolutely! Just ensure that you have adequate equipment and jars ready to accommodate the extra jam.
5. Is it necessary to use pectin in this recipe?
While pectin is essential for achieving the right consistency in traditional jam-making, you may use alternative methods if you prefer not to use commercial pectin, understanding it may take different techniques and may affect the final texture.
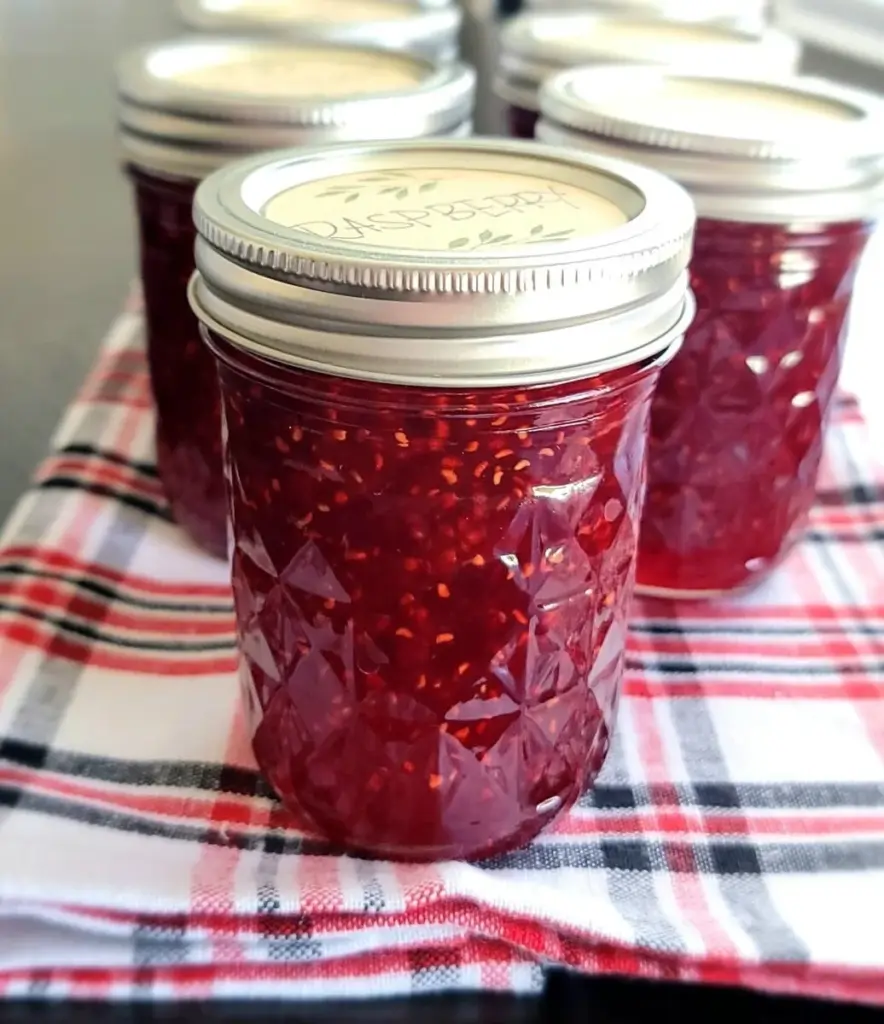
Homemade Raspberry Jam
Ingredients
Method
- Wash and dry your jars, lids, and rings in hot soapy water.
- In a small saucepan, heat water to a boil, then remove from heat and add the lids and rings.
- Measure out your sugar into a large bowl.
- Place the fresh raspberries into a large pot without crushing them.
- Sprinkle the pectin over the raspberries and add the butter.
- Turn the heat to high and stir the mixture as it heats until it reaches a rolling boil.
- Once boiling, add the sugar while stirring until it returns to a rolling boil. Boil hard for 1 full minute.
- Carefully pour half of the mixture into a large glass measuring cup or use a ladle.
- Pour the hot jam into prepared pint or half-pint jars.
- Wipe the rim of each jar with a wet paper towel.
- Place the dried lids and rings onto the filled jars and twist closed.
- Process your jam in a water bath canner for longer preservation.
- After cooling, listen for the popping sound indicating jars sealed properly.
- Store your jam in a cool, dry place for up to 12 months.




Leave a Reply